The Project Grid
The grid shows one row for each target of the project, with a column for any setting you choose. Use it for projects with many targets and for changes that apply to several of them.
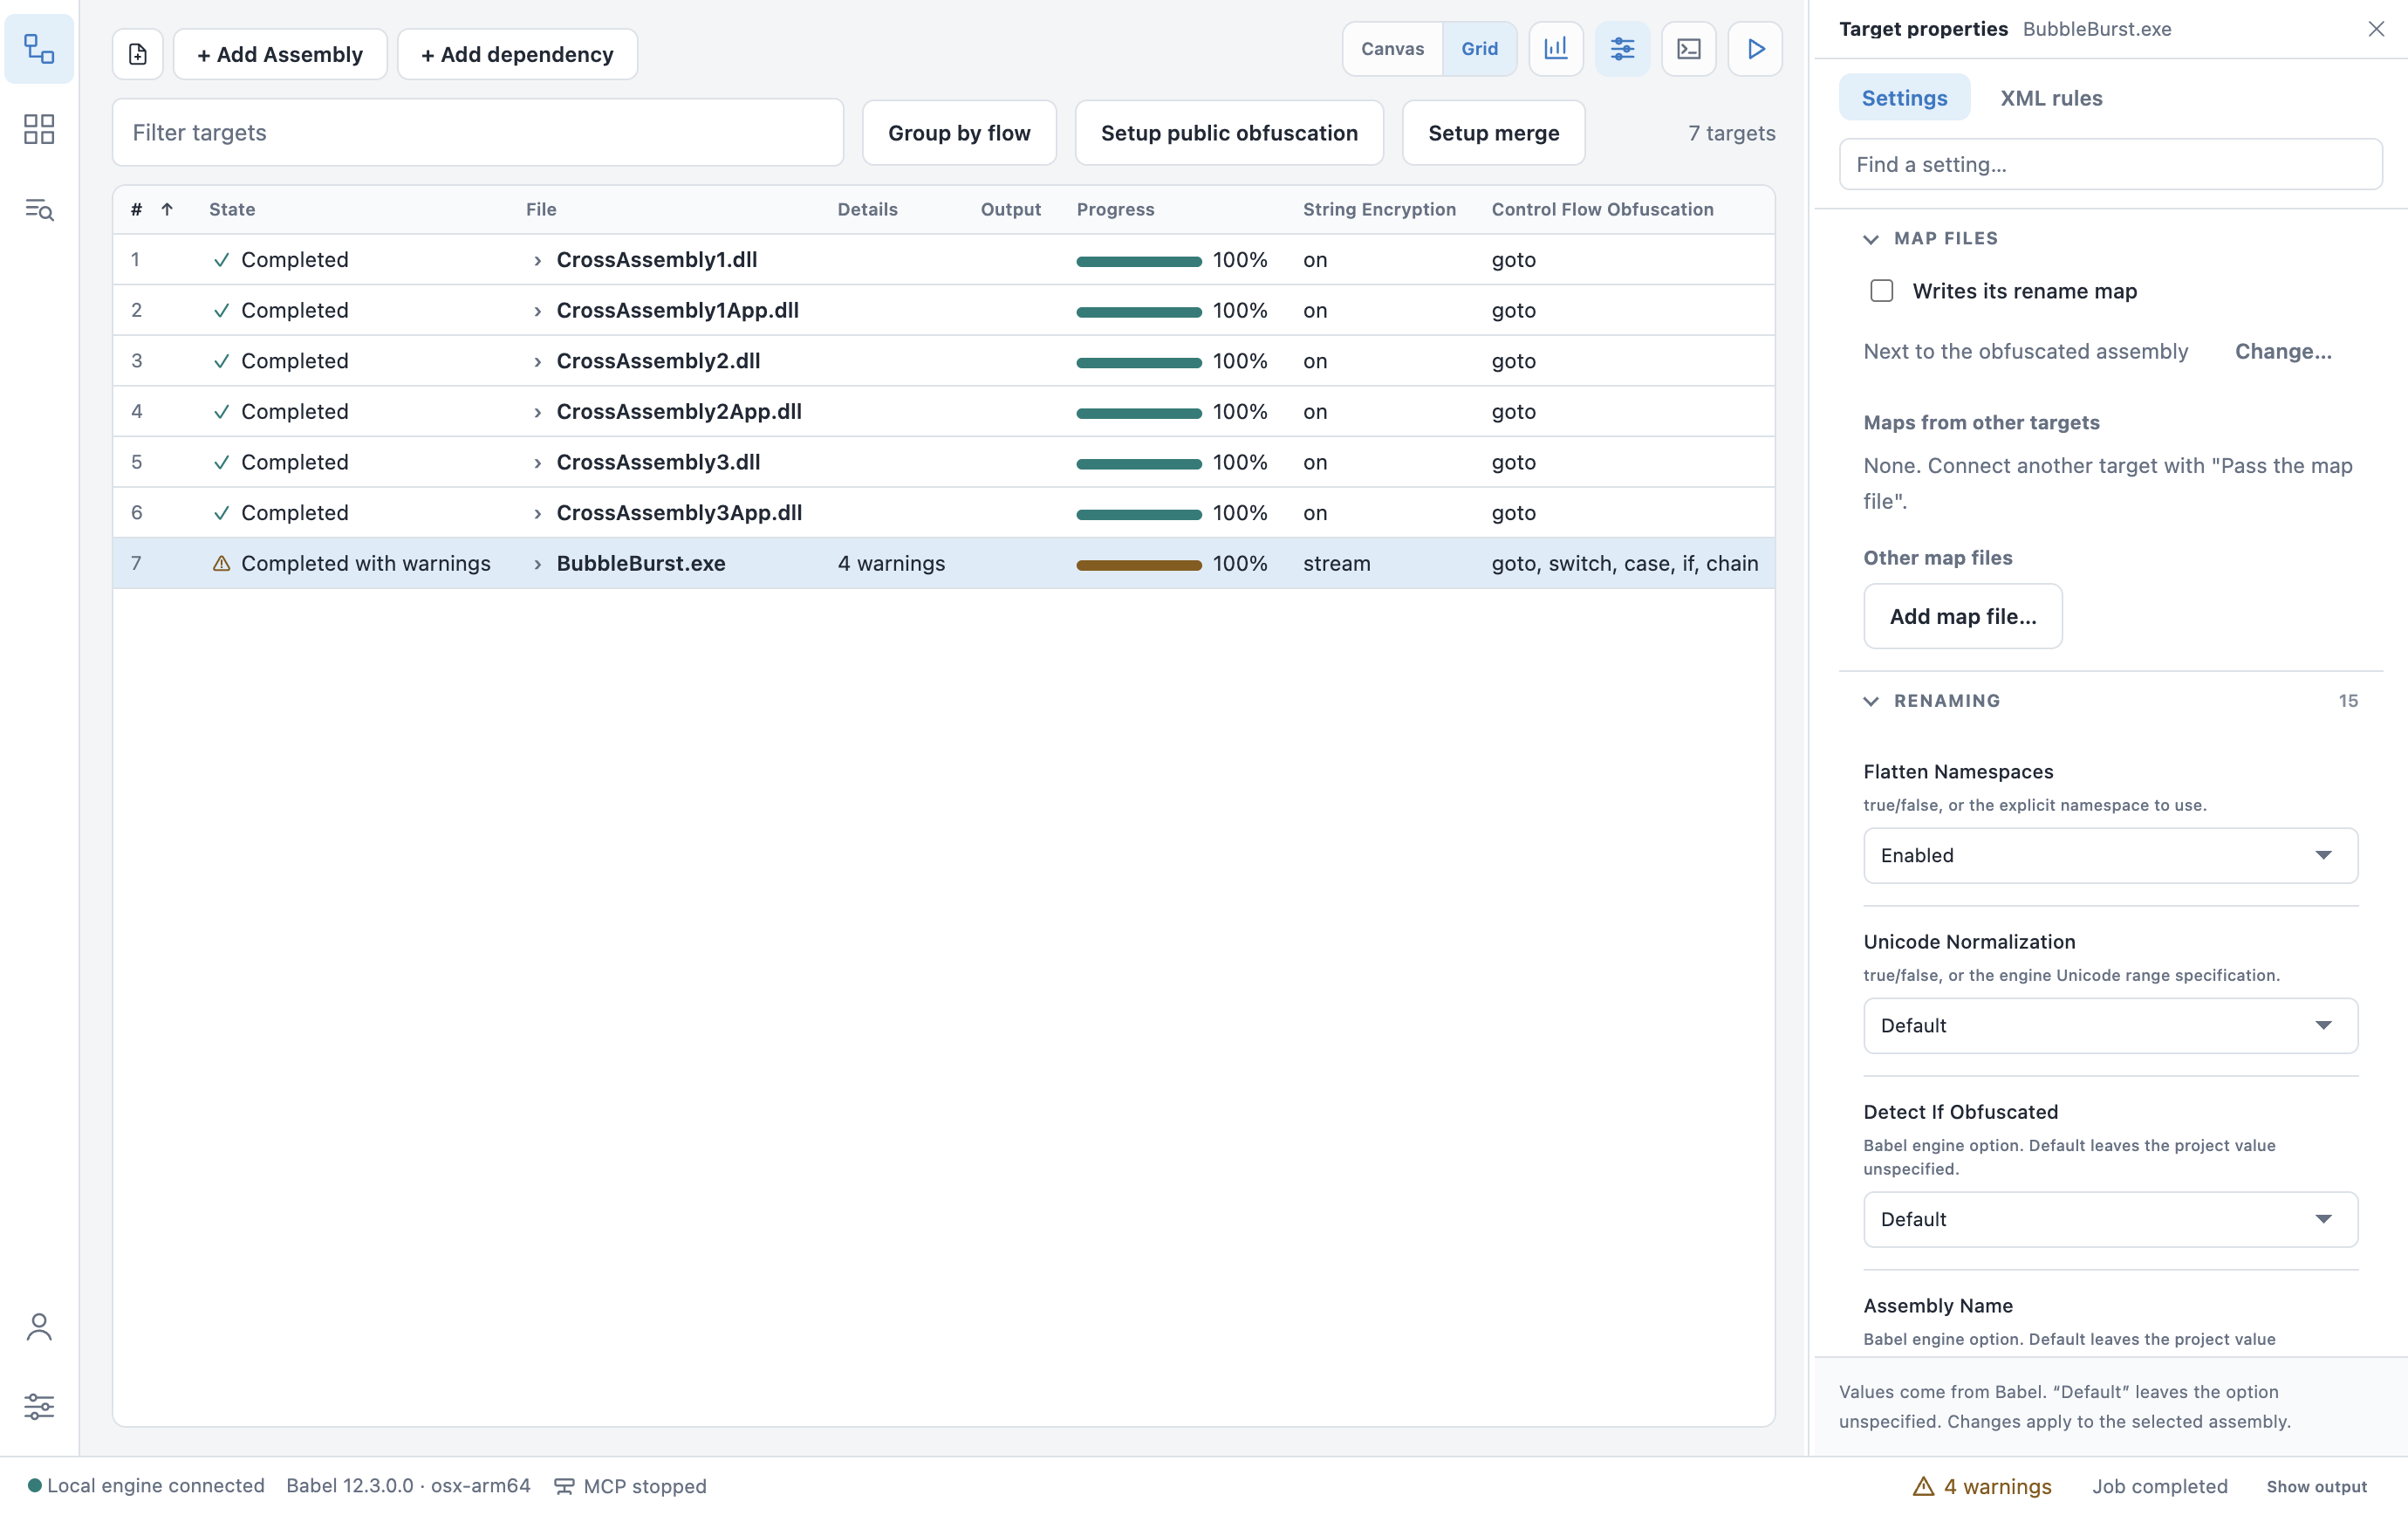
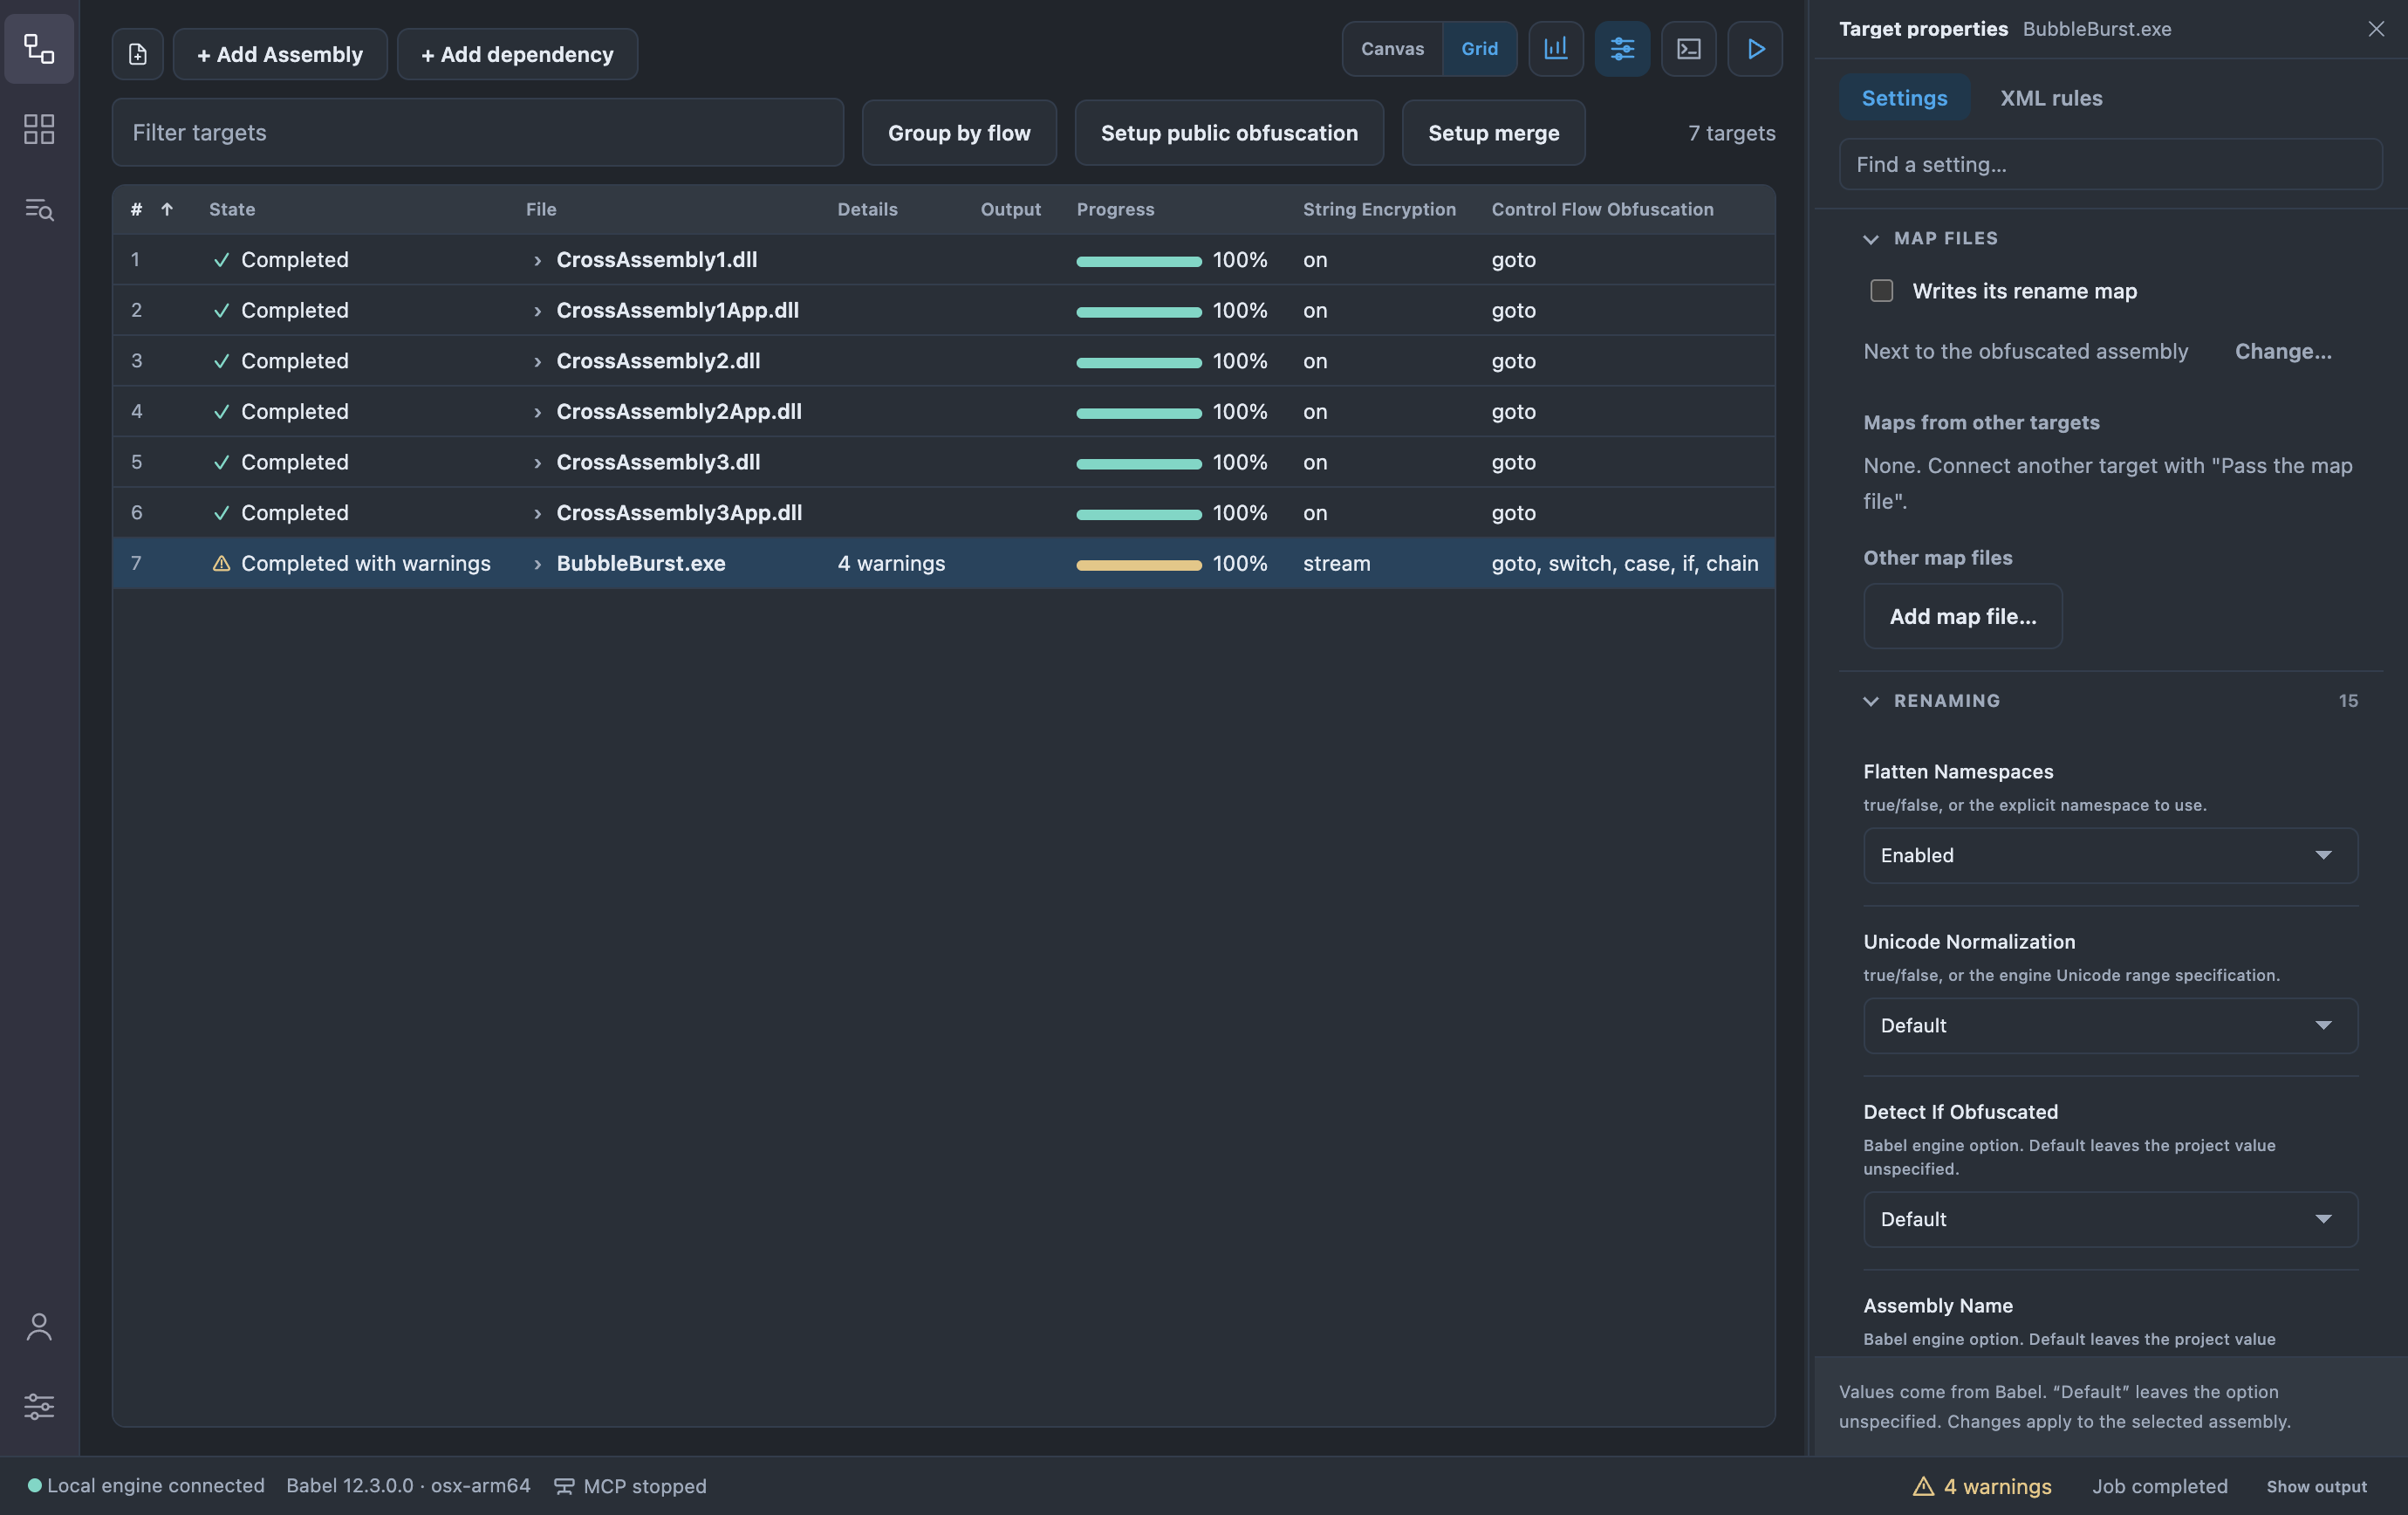
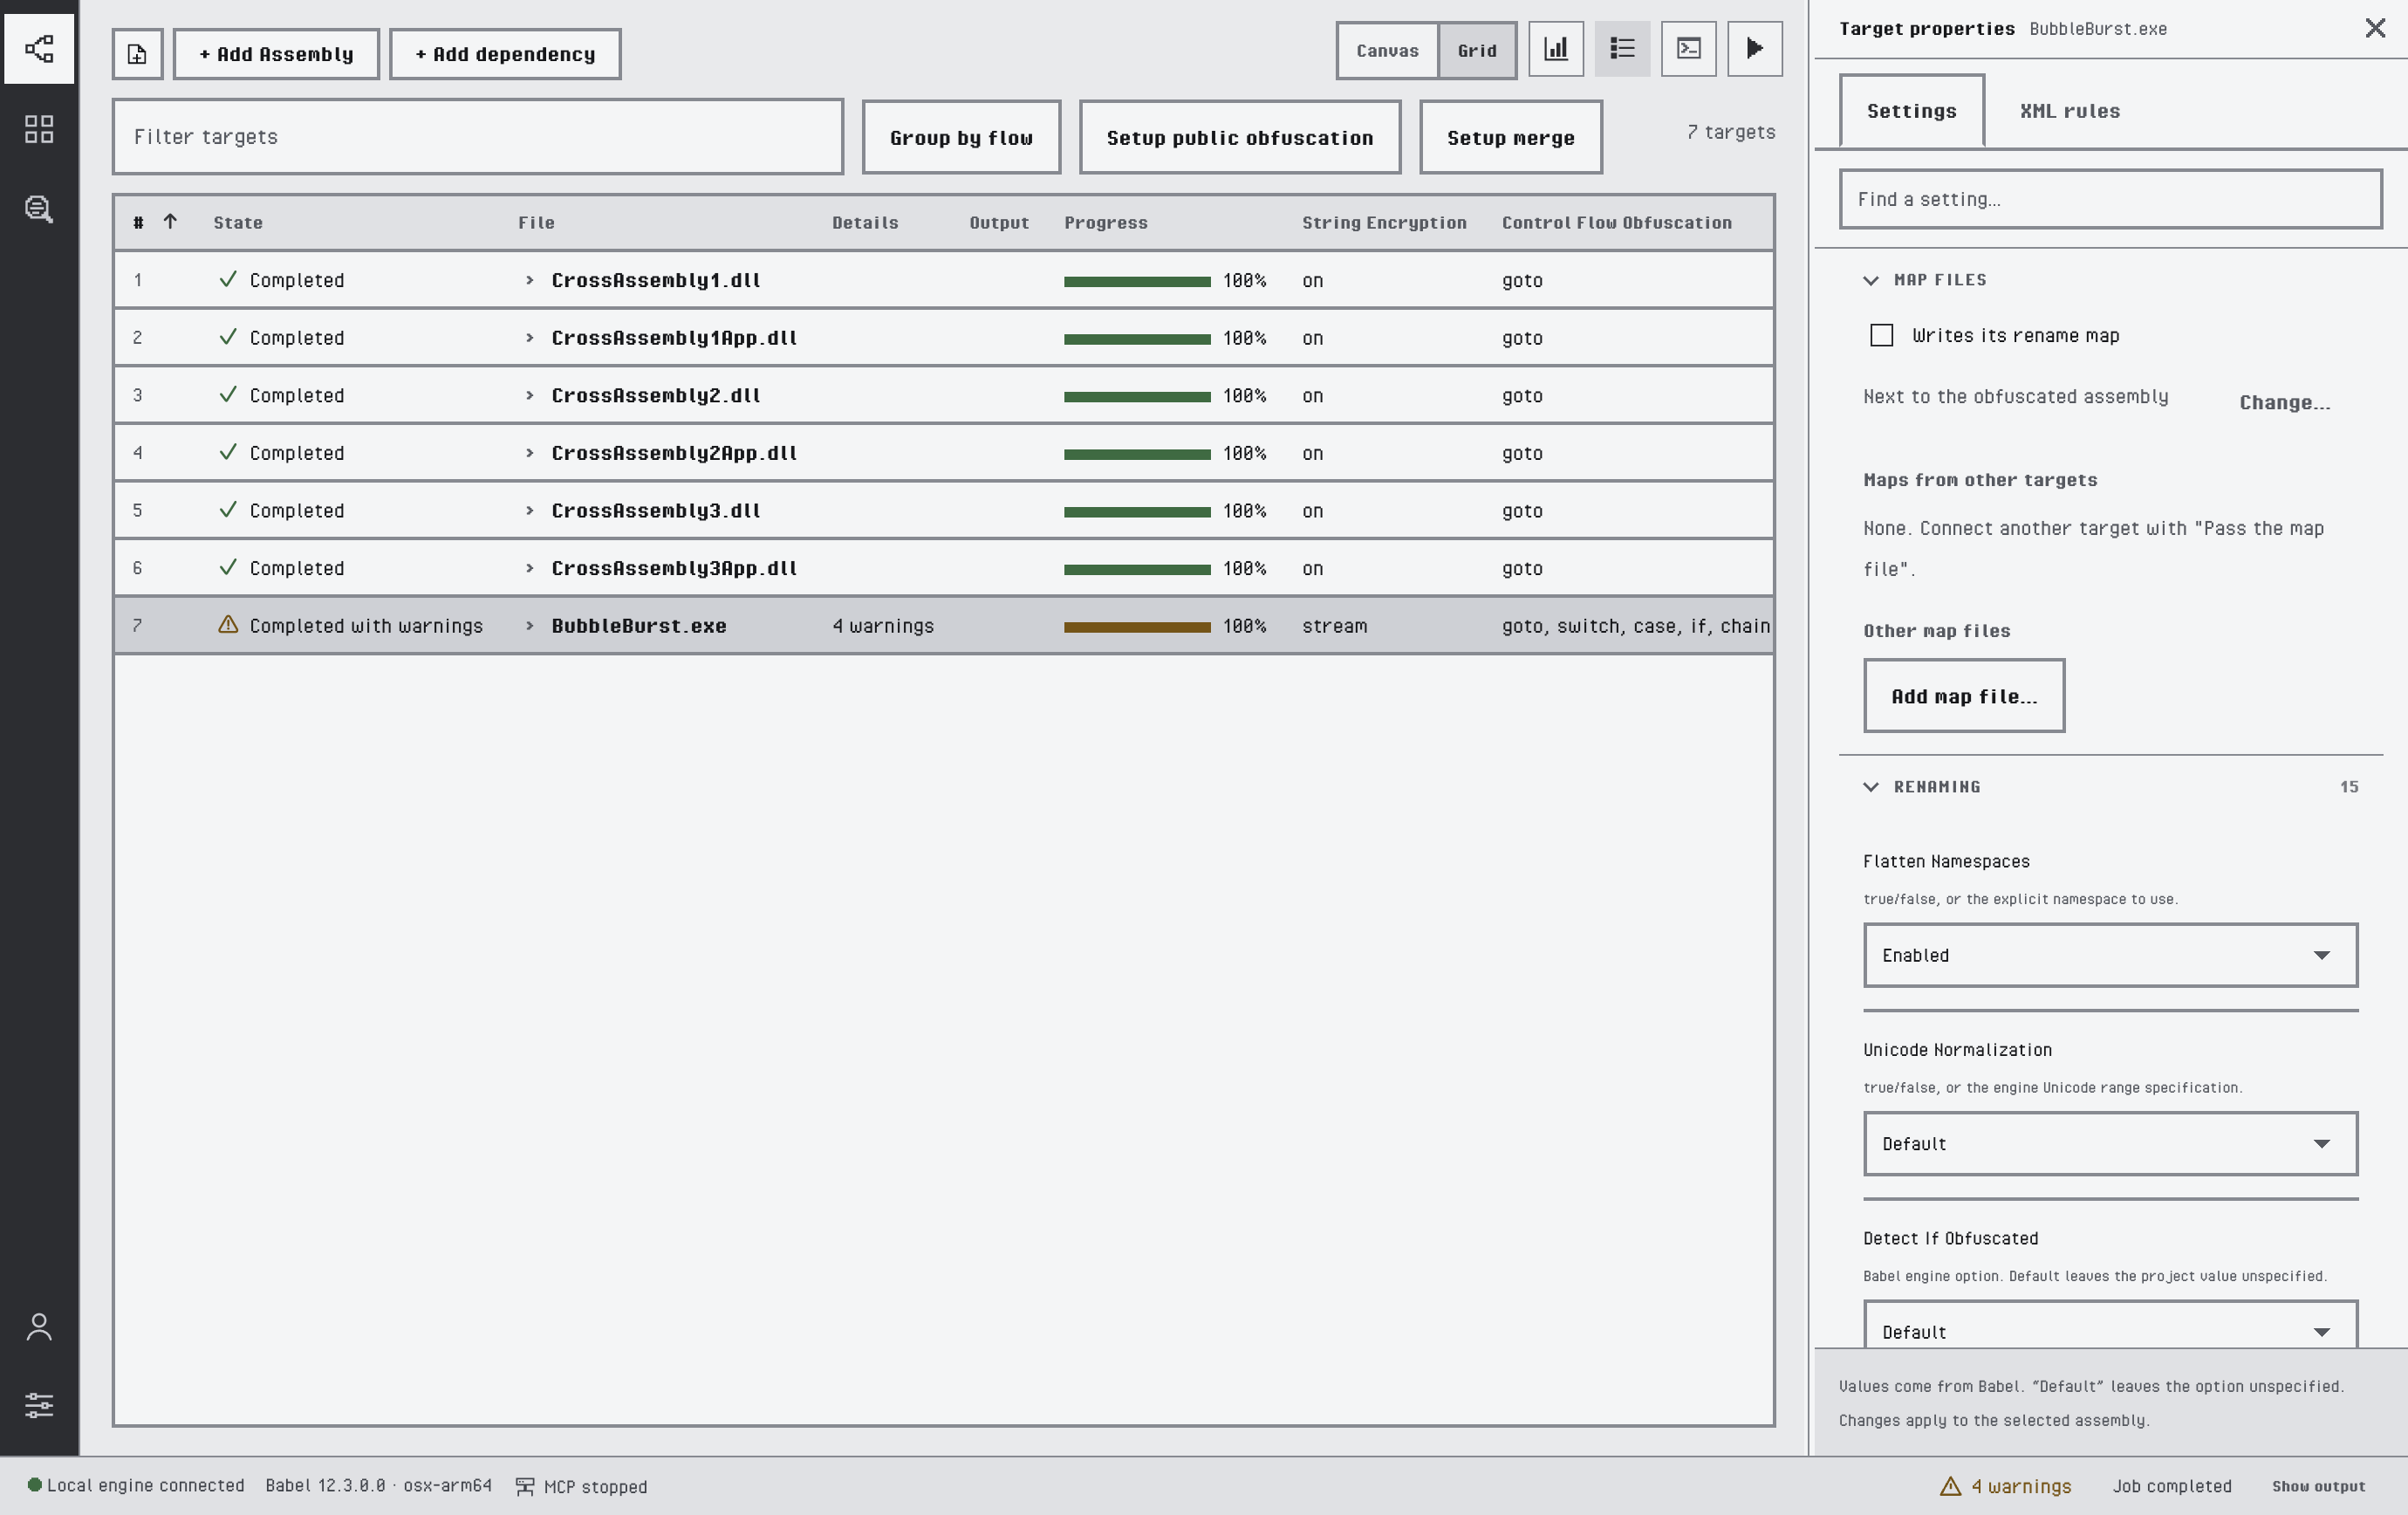
The grid with two setting columns added and the properties panel open
Switching Views
Switch views with Canvas | Grid at the top right, View > Canvas / View > Grid (Ctrl+Shift+C / Ctrl+Shift+G, Cmd+Shift+C / Cmd+Shift+G on macOS), or View: Canvas / View: Grid in the command palette. The canvas is the default. Babel Desktop remembers each project’s view on this computer; switching neither changes the project file nor marks it as modified.
Selecting a row is like clicking its node, and the properties panel works the same in both views. In the grid, the toolbar adds Run results next to the view switch, and a second row with Filter targets, Group by flow, Setup public obfuscation and Setup merge (see Setup Commands).
Rows and Columns
Each row is a target. Assemblies merged into a target have no row and appear in its Inputs tab. The count at the right of the toolbar reads, for example, 7 targets, 1 target · 10 merged when targets are merged into another target, or 3 of 12 targets when filtered.
| Column | Content |
|---|---|
| # | Position in project order |
| State | Ready, Running, Completed, Completed with warnings, Failed or Missing input |
| File | Input file, with the chevron that opens the details |
| Details | A summary such as merges 3 · embeds 1 · refs 2, or the warning count after a run |
| Output | The output file set for the target; empty when the target writes to the default BabelOut folder |
| Progress | Progress of the target during a run, kept after the run ends |
Choosing Columns
Right-click a column header, or press the menu key or Shift+F10 on a header, to choose the visible columns. Besides the default columns you can add Flow · Step, Run after, Input path and any setting of the properties panel, such as String Encryption or Control Flow Obfuscation. Restore defaults goes back to the default set. File is always shown.
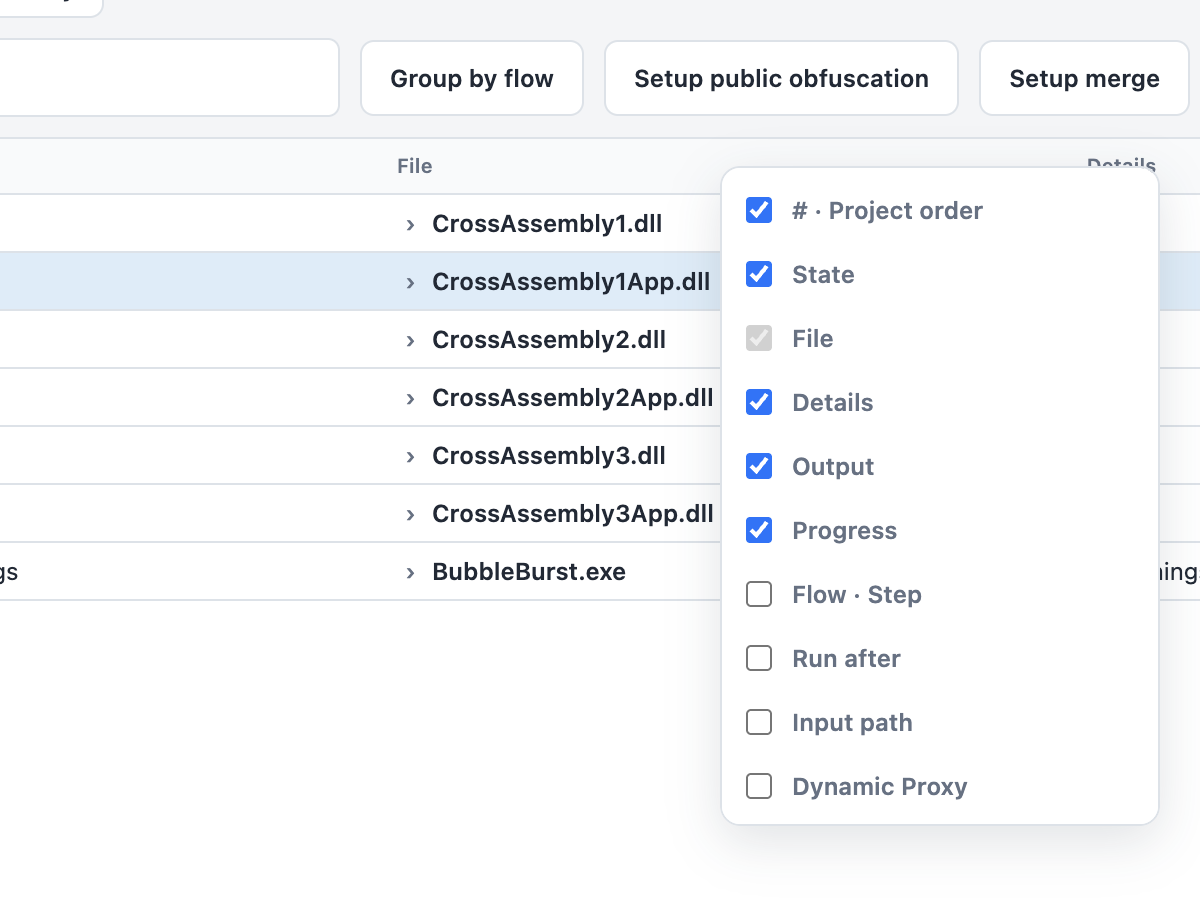
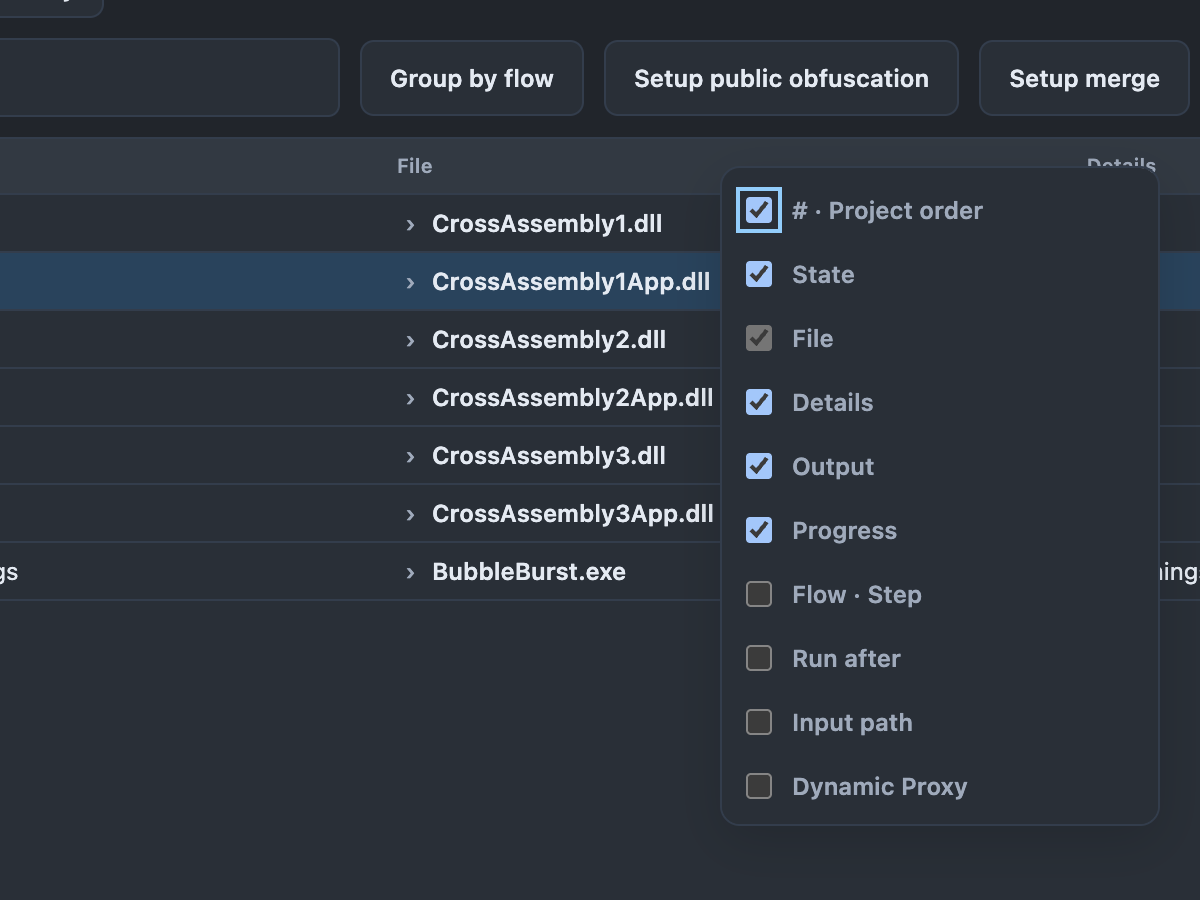
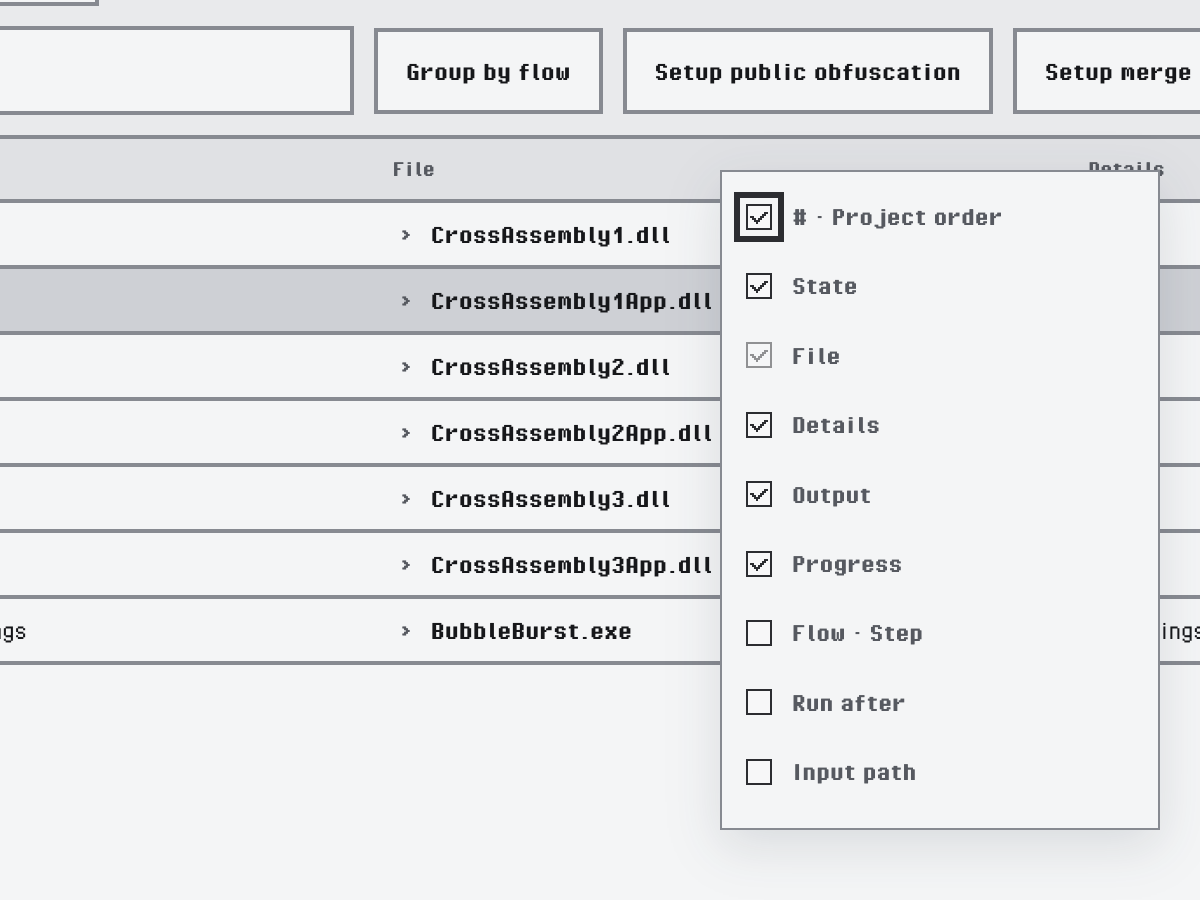
Choosing the visible columns
Drag a header, or press Alt+← / Alt+→ on it, to move a column. The column set and order are remembered on this computer and apply to every project.
Sorting, Filtering and Grouping
Click a header to sort by that column, then again for descending order. Sorting changes only what you see; it never changes the run order. Click # to go back to Project order.
Type in Filter targets to show only the rows whose text matches. Group by flow puts the rows of each flow under a Flow 1, Flow 2 heading. With the Flow · Step and Run after columns added, the grid shows what runs before what.
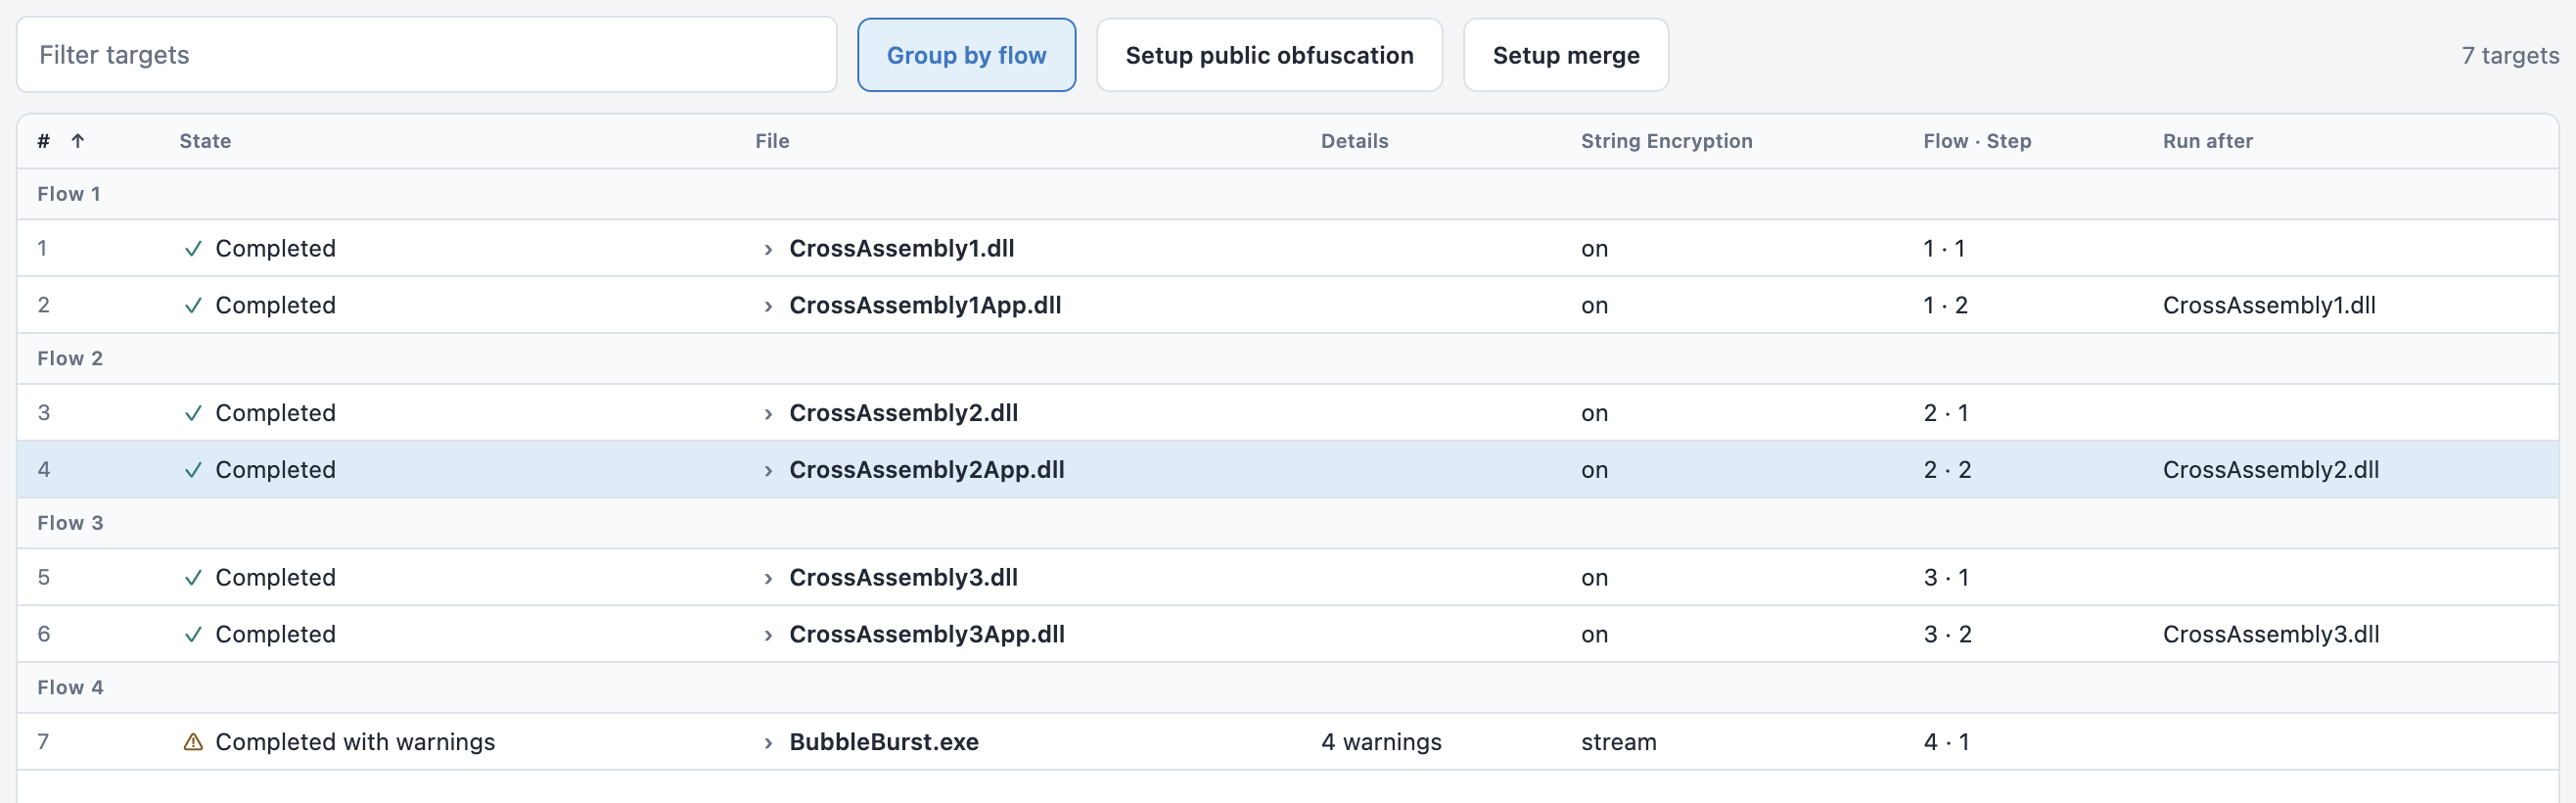
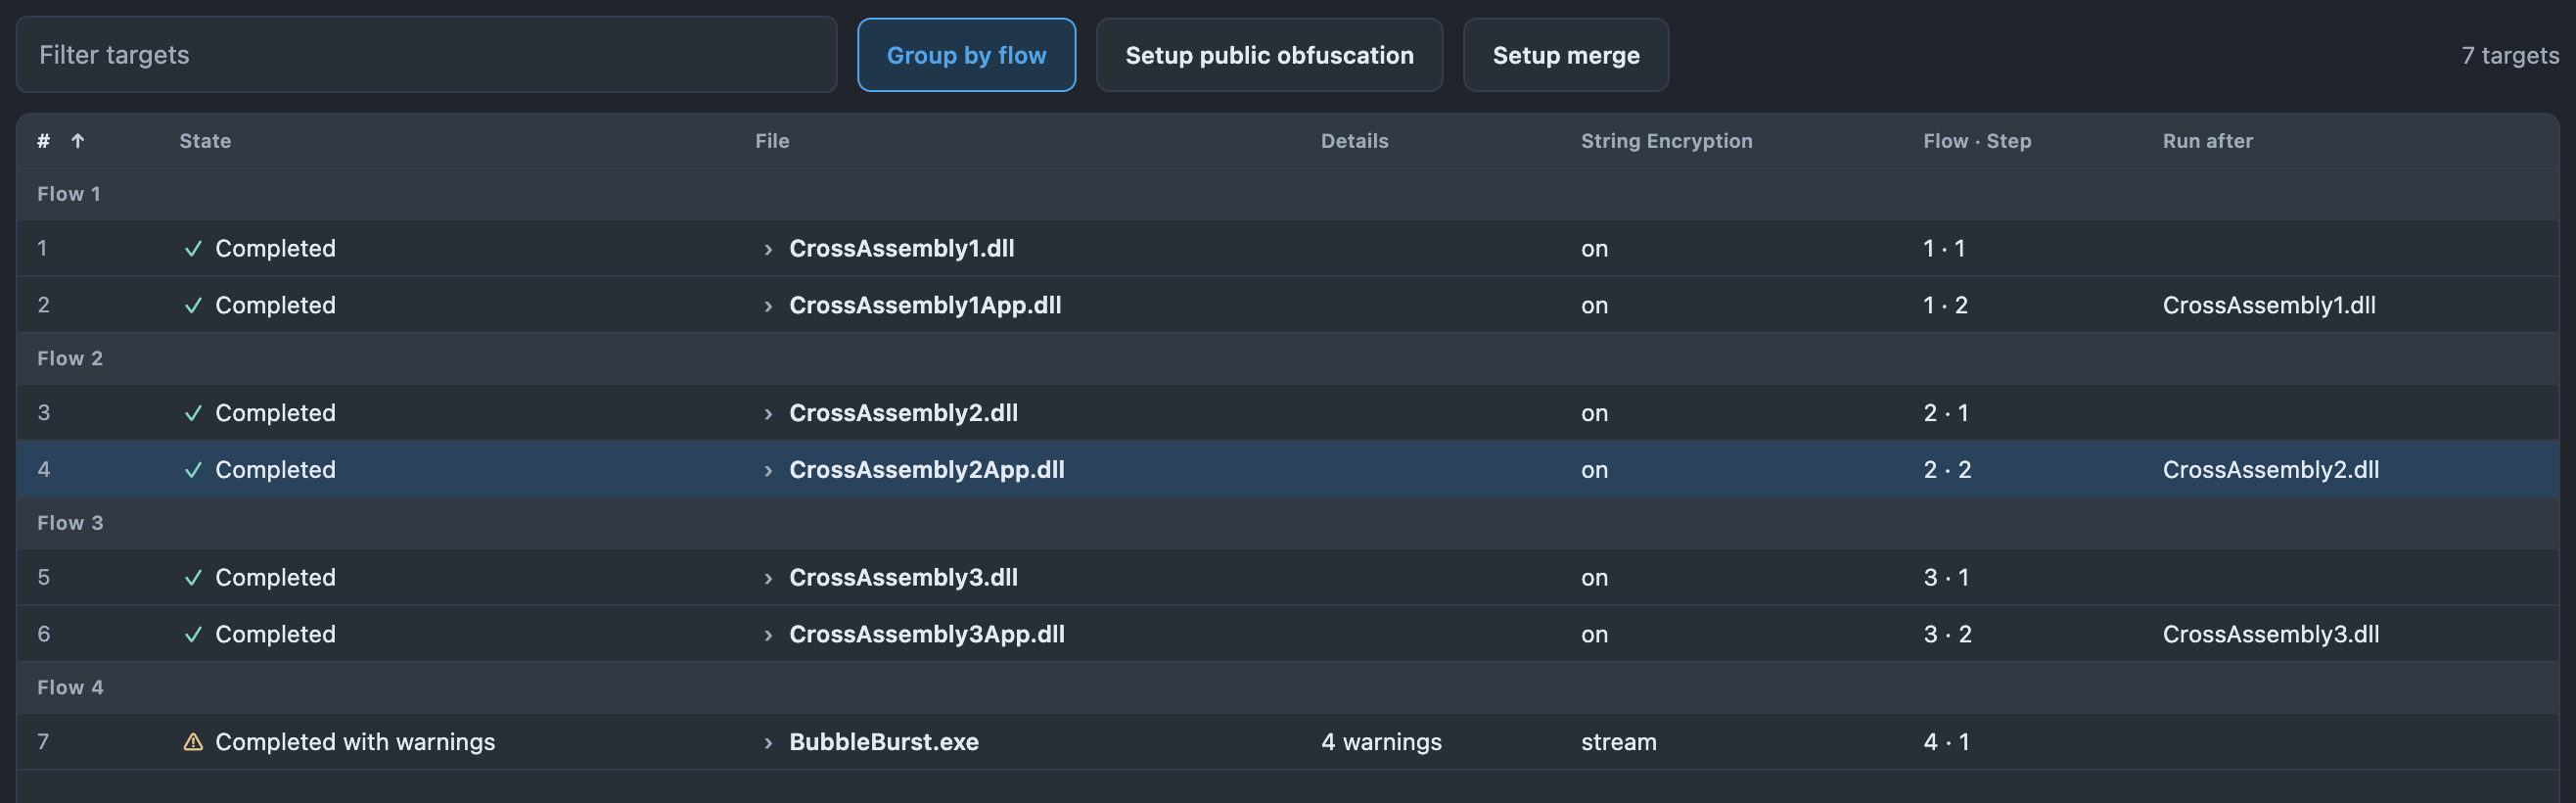
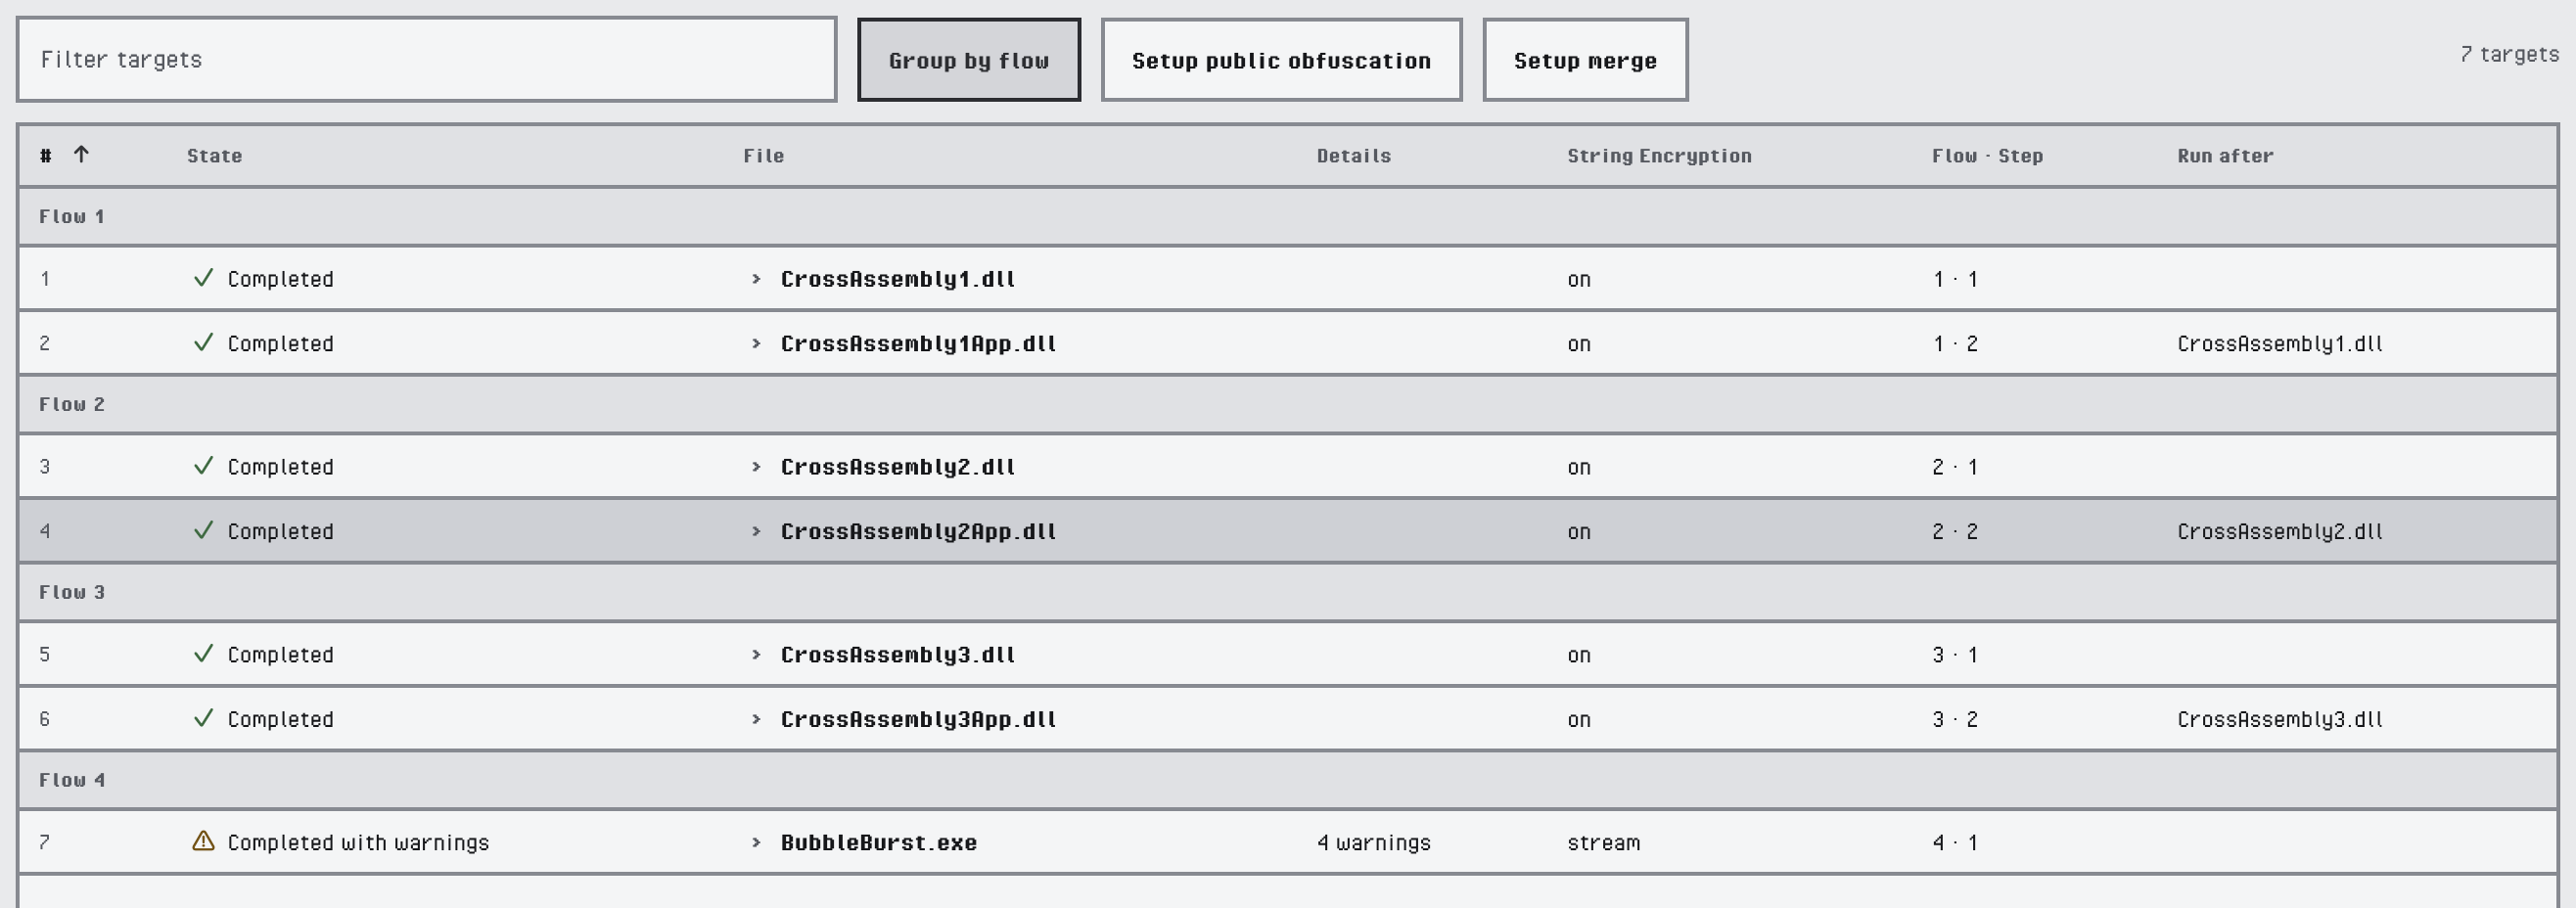
Rows grouped by flow
Selecting and Editing
You select rows and edit cells as in a spreadsheet, with the mouse or entirely from the keyboard.
| To | Do |
|---|---|
| Select a row | Click it, or move with the arrow keys |
| Add or remove a row from the selection | Ctrl+click (Cmd+click on macOS), or Ctrl+Space on the focused row |
| Select a range | Shift+click, or Shift with the arrow keys |
| Select every row shown | Ctrl+A (Cmd+A on macOS). With a filter, only the rows that match are selected. |
| Move between cells | Arrow keys, Home, End, Page Up, Page Down |
| Edit a cell | Enter, F2, a double-click, or start typing |
| Confirm or cancel an edit | Enter or Tab confirms, Esc cancels |
A setting cell is edited with the same control as in the properties panel: a check box, a list, a text field or a file picker. Composite settings show a summary, such as on · goto, switch or 3 filters, and open their editor in a popover.
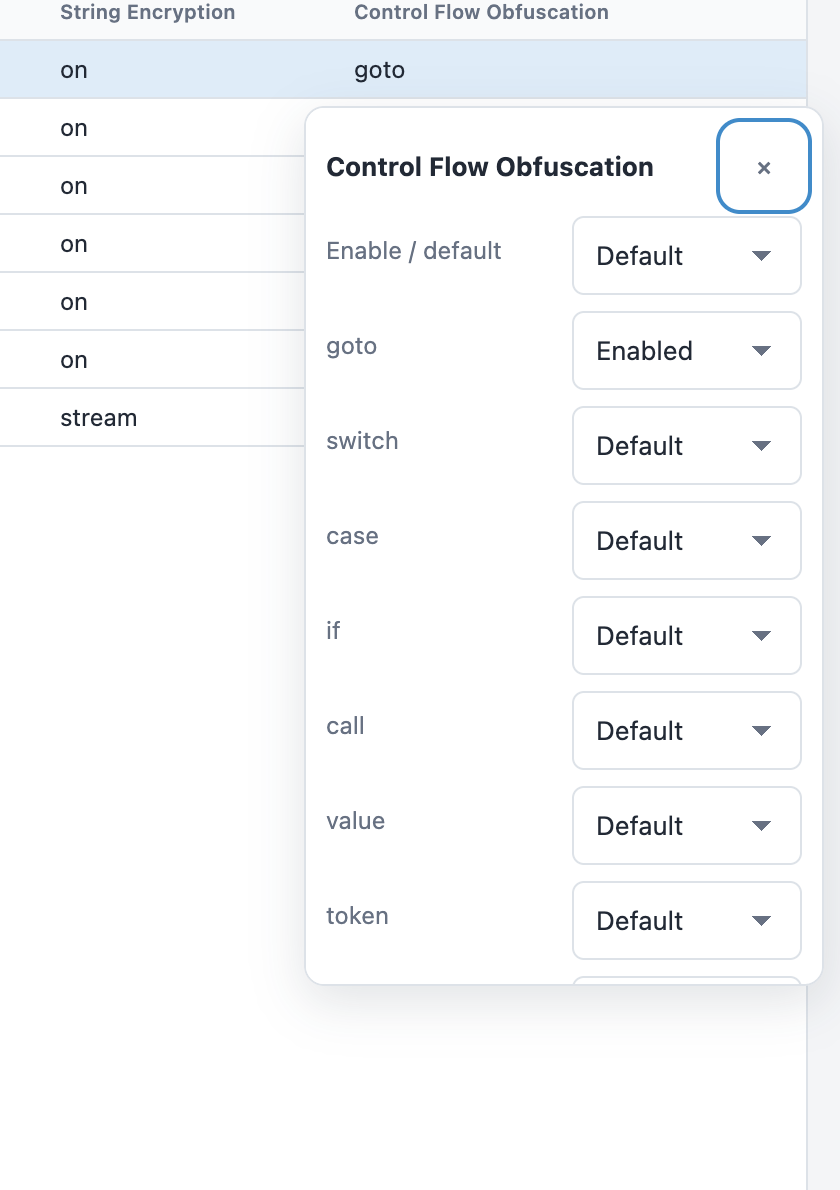
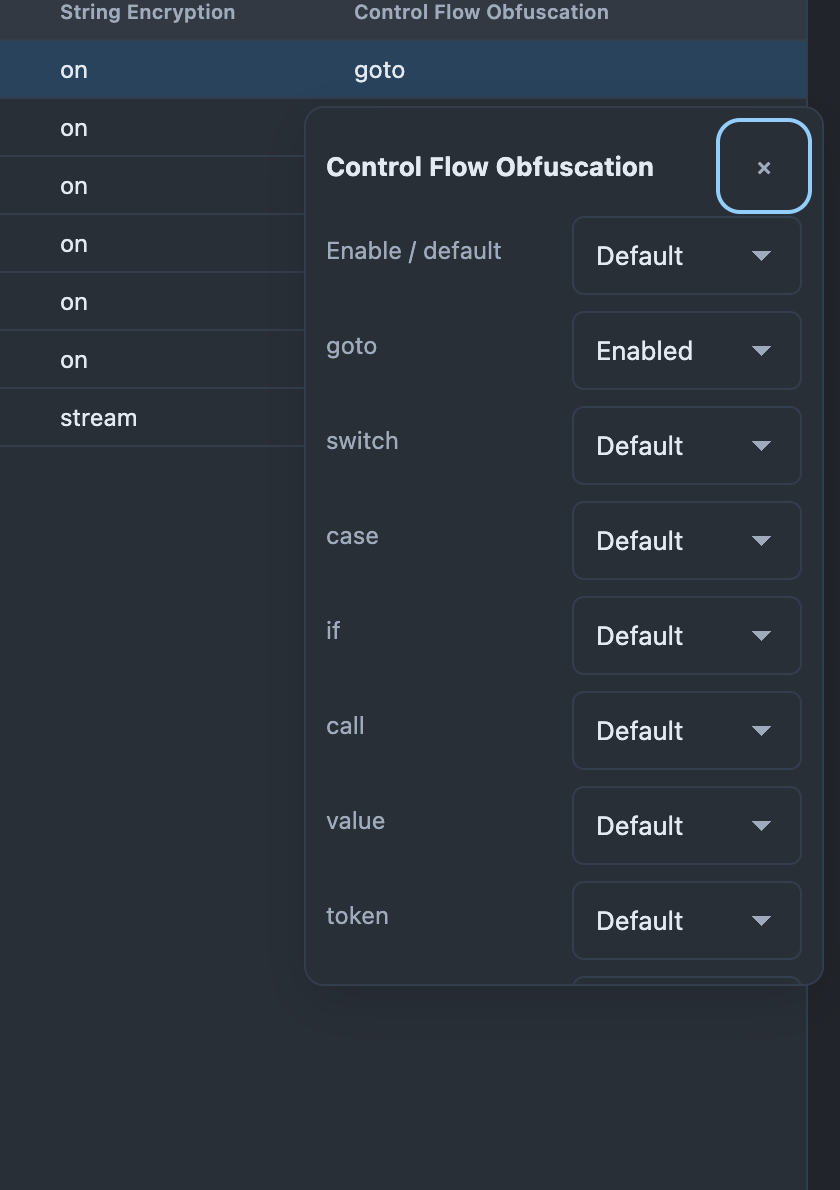
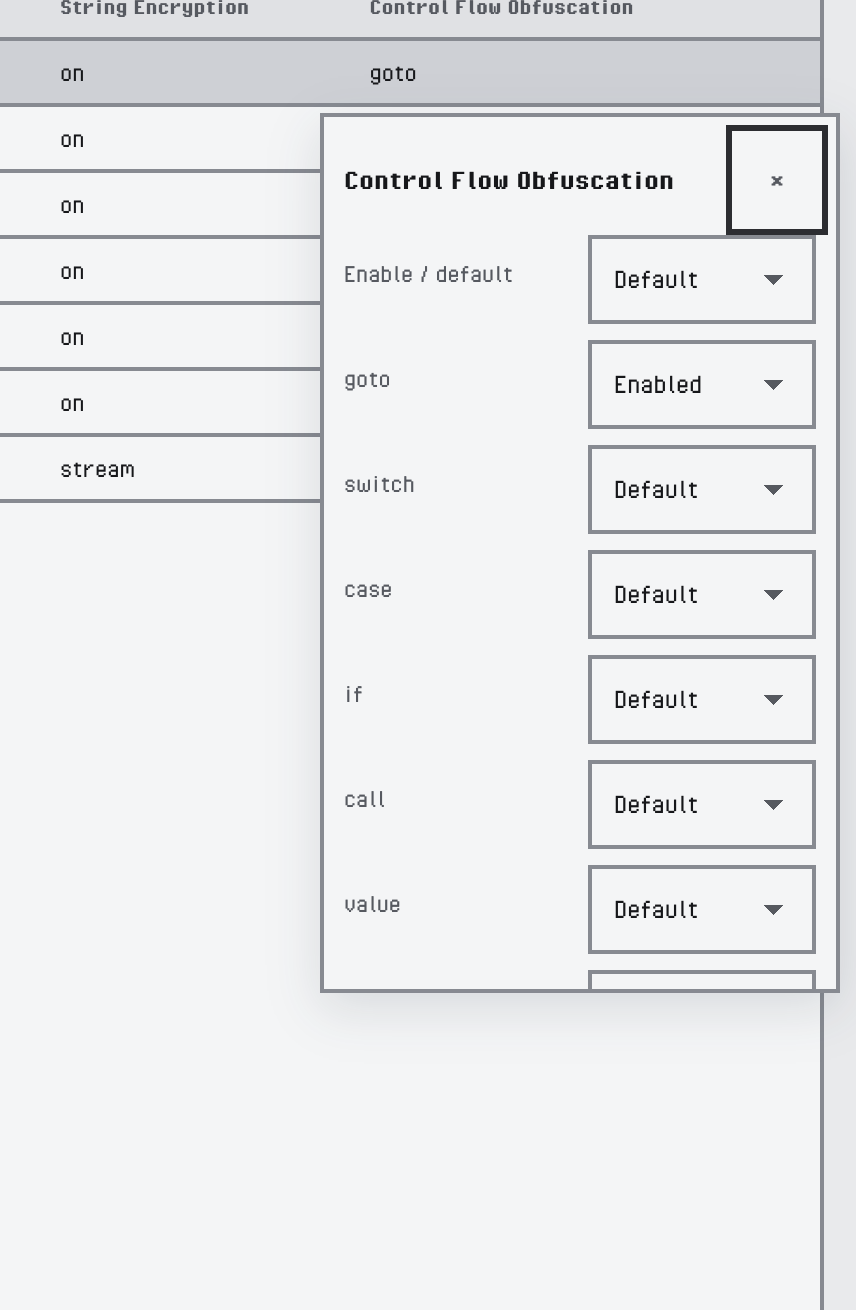
Editing a composite setting in a popover
An edit applies to every selected row. When some targets refuse the value, Babel Desktop lists them under Not applied to every selected target:, and the other targets keep the new value.
Settings cannot be changed while a run is in progress. #, State, File, Details, Progress, Flow · Step and Input path are read-only.
Run Order
The order of the rows in project order is the order of the targets in the project file. To change it, sort by # first, then drag rows, press Alt+↑ / Alt+↓, or use Move up / Move down in the row menu. These act on the selected rows and the new order is saved with the project.
The Run after cell lists the targets this one waits for. Editing it opens a list of the other targets with a check box each: ticking a target adds a flow edge from that target to this one, clearing the box removes the edge. Targets this one reads a map from are ticked and cannot be cleared there; remove the map link instead.
Targets still run after their flow edges and map links: moving a row never makes a target run before a target it waits for. With Settings > Obfuscation > Run independent flows in parallel off, the targets run in row order within those limits. With it on, independent flows can run at the same time.
Target Details
The chevron in the File cell, or Show details / Hide details in the row menu, opens five tabs under the row, each with a count:
| Tab | Content |
|---|---|
| Inputs | Merged, embedded and referenced assemblies, each with an Action list (Merge, Embed or Reference). A file that does not exist is marked The file was not found. |
| Rules | XML rules files |
| Maps | Map files the target reads. A map written by another target of the project reads From and the name of that target. |
| Plugins | Engine plugin DLLs |
| Search directories | Folders where the engine looks for referenced assemblies |
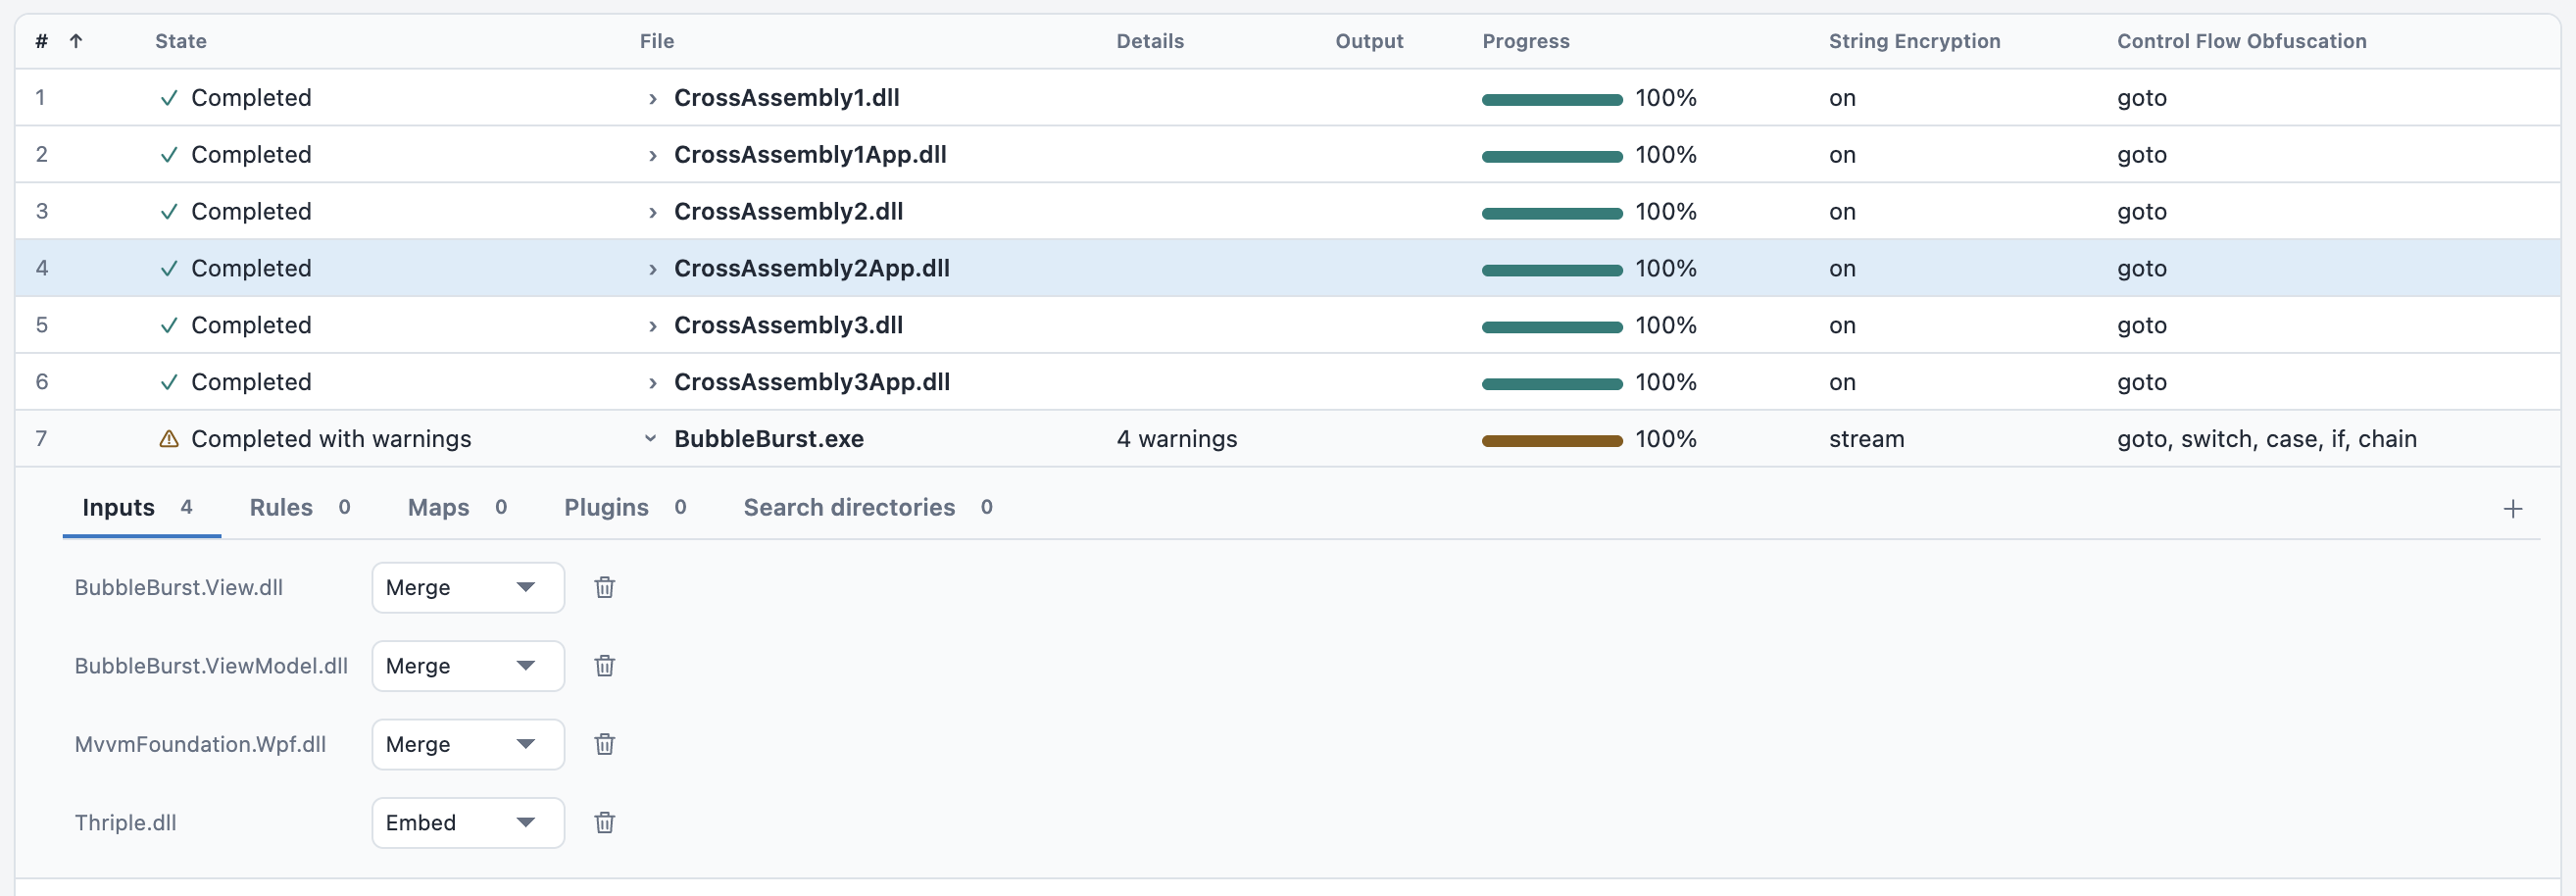
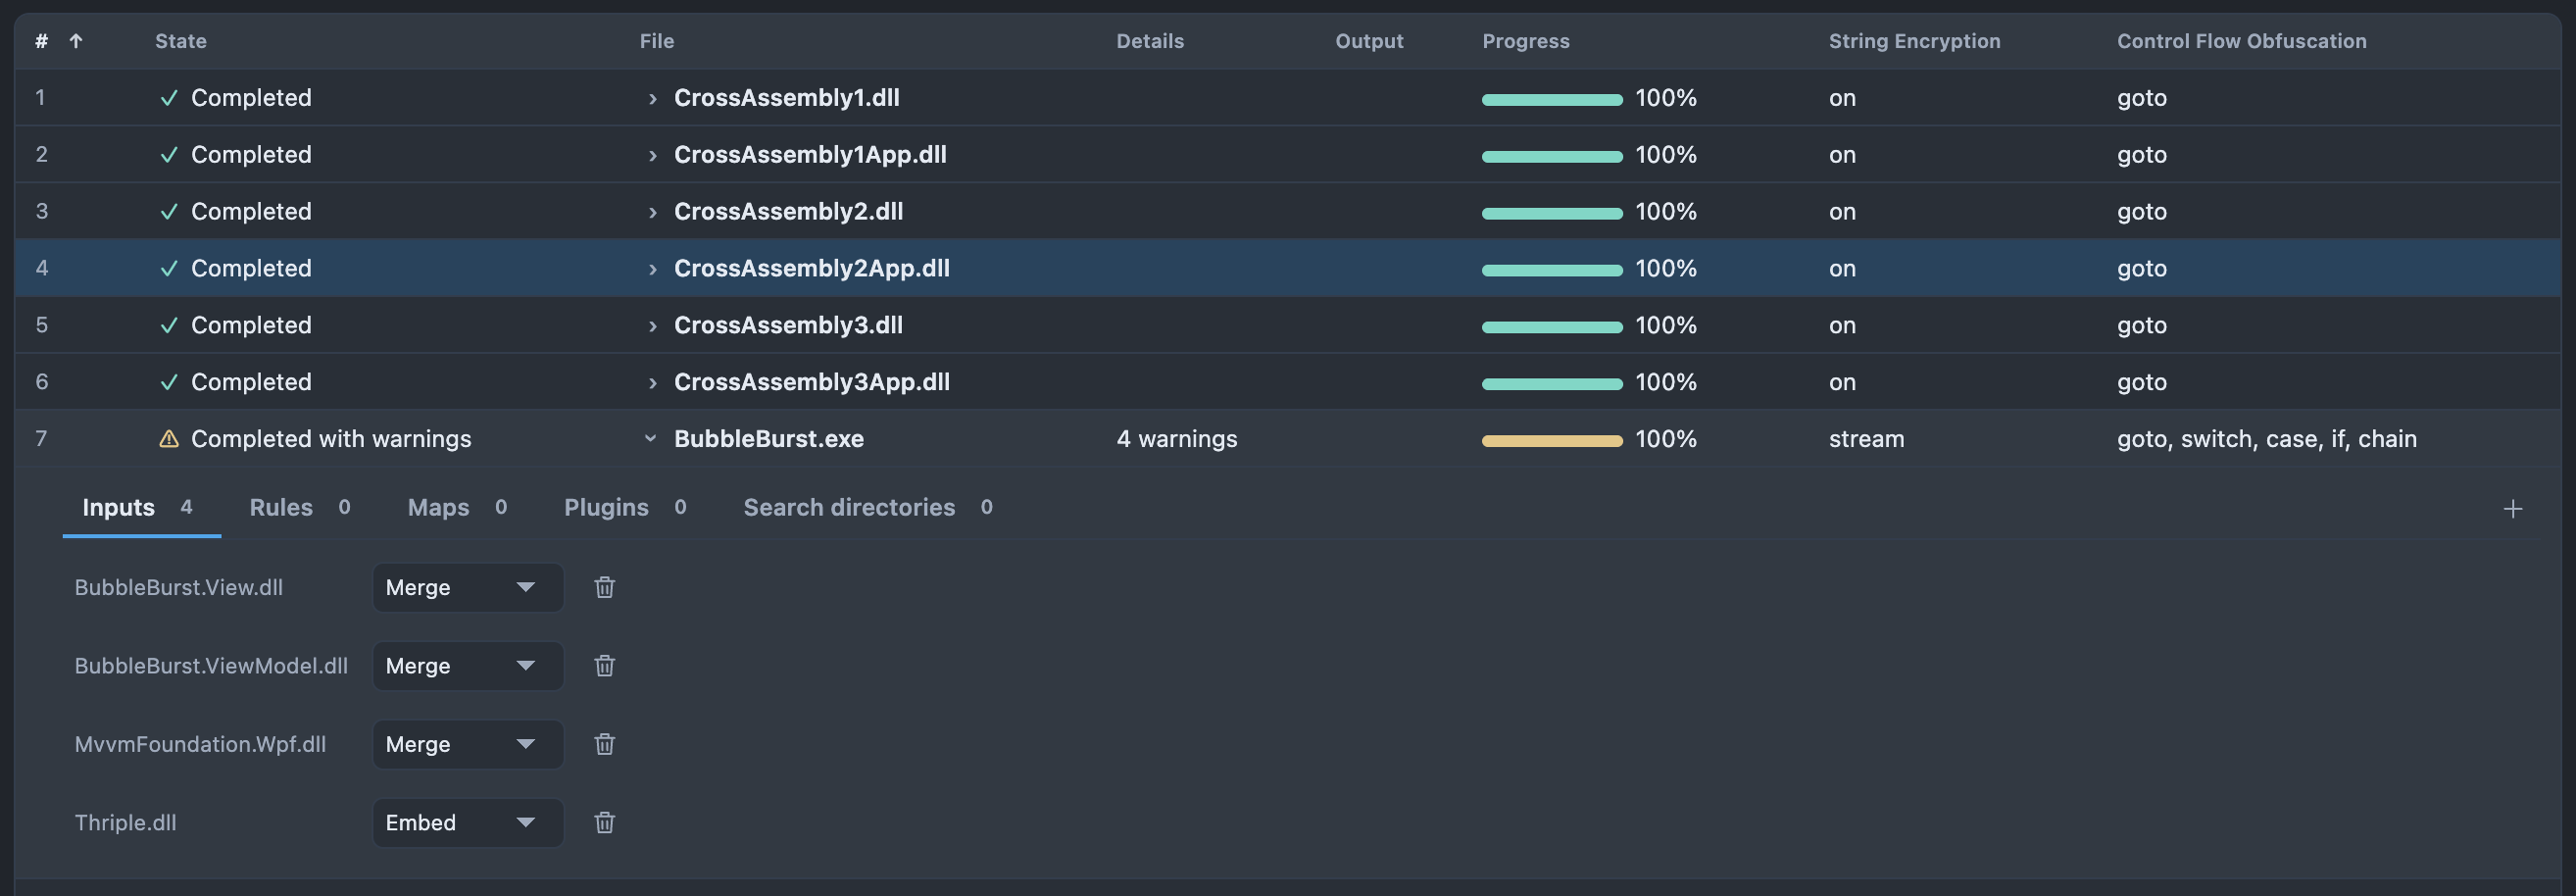
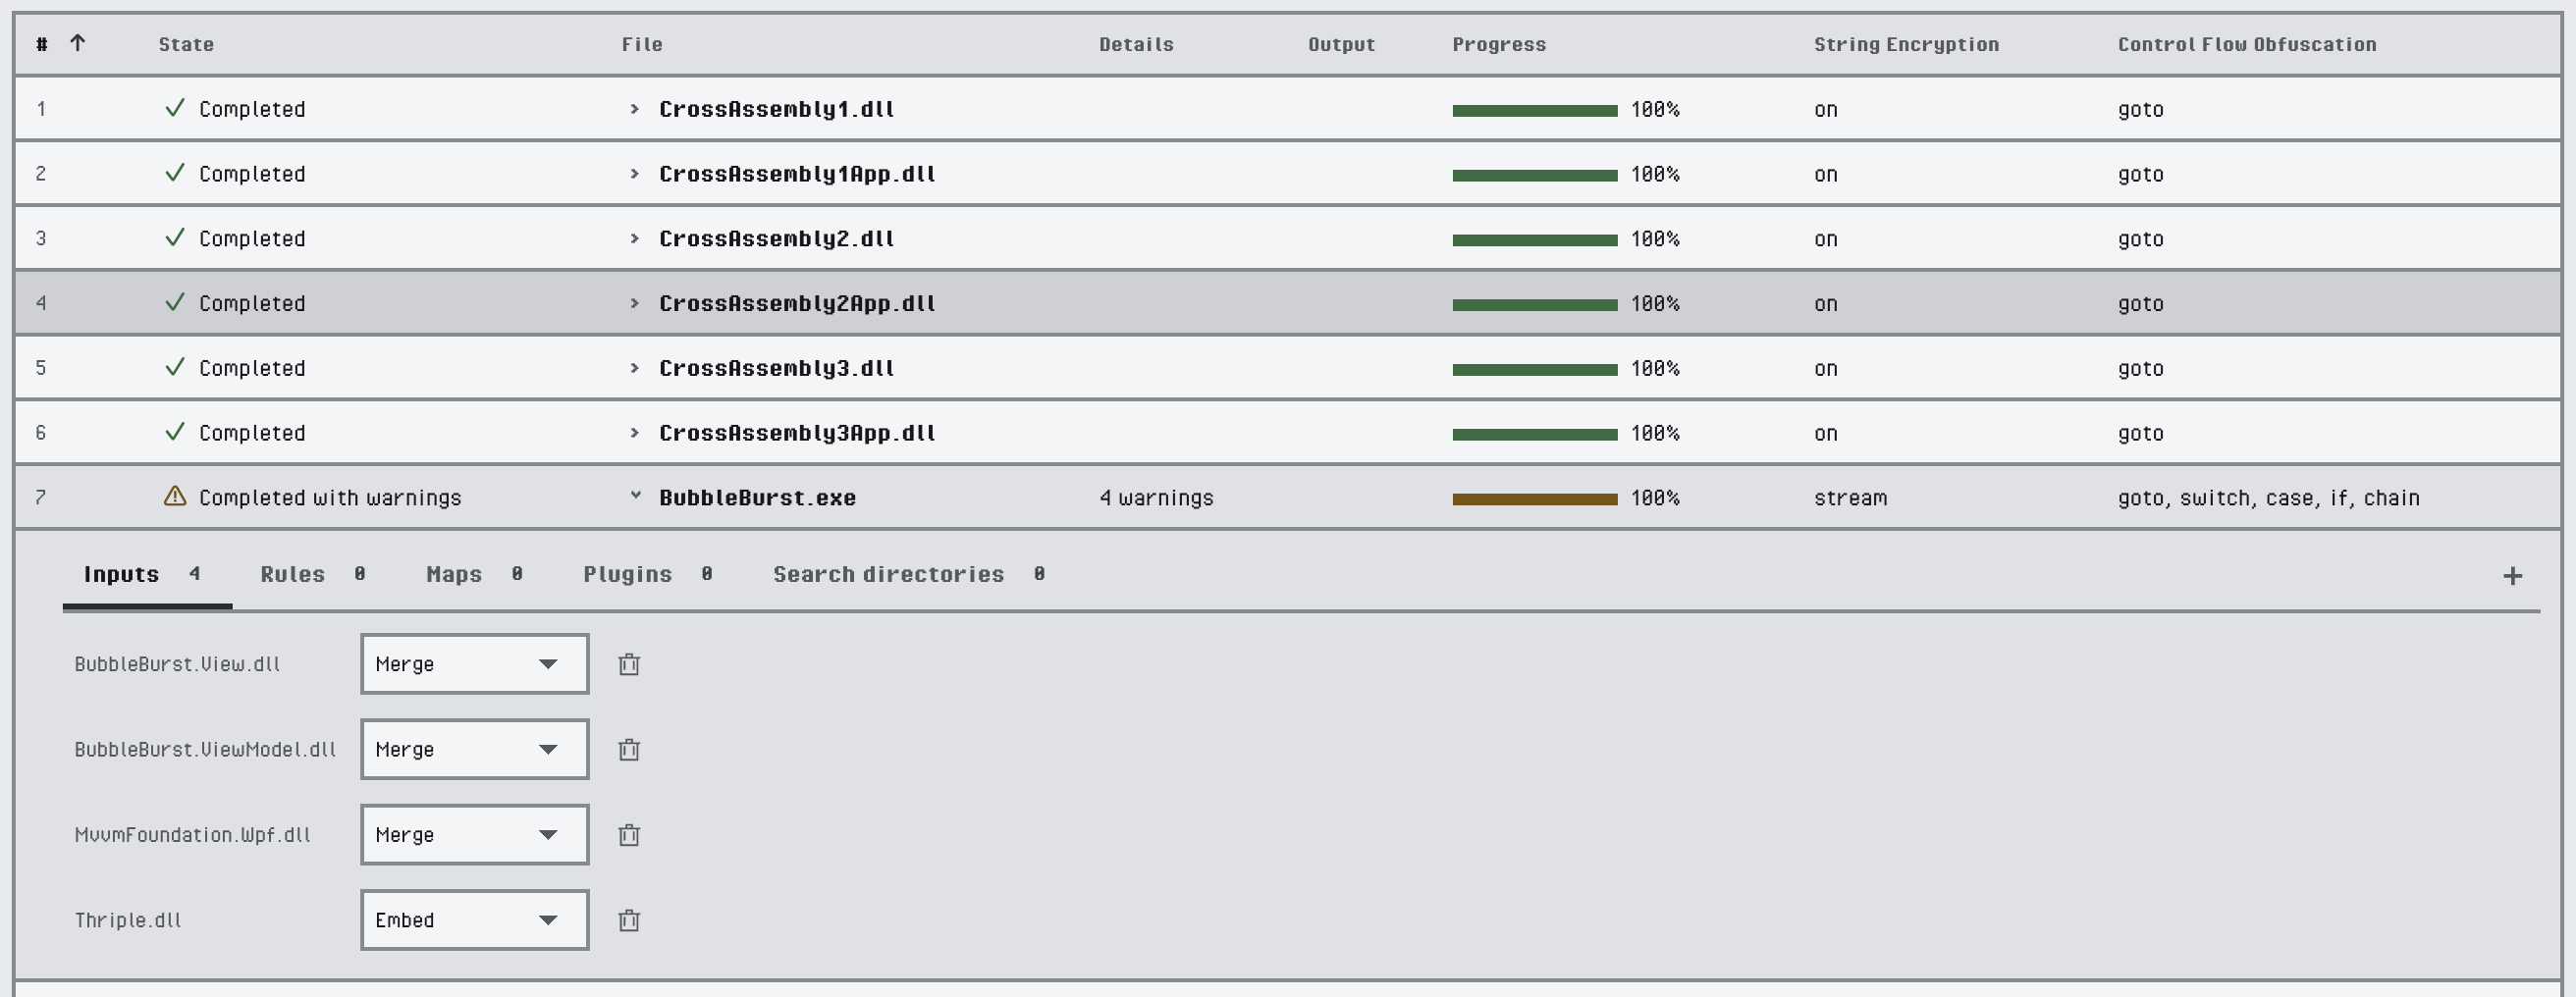
The inputs of a target
The + icon at the right of the tabs adds entries with a file or folder picker; on the Inputs tab it offers Add assemblies to merge…, Add assemblies to embed…, Add assembly references… and Add dependency automatically…. The trash icon of an entry removes it. Right-click a Rules or Maps entry and choose Apply to all targets to add that file to every target that does not have it yet.



A map written by another target
Dropping Files
Drop files from the file manager on the grid:
- Assemblies on an empty area create targets. On a row or on its Inputs tab they are merged into that target.
- A
.snkor.pfxfile on a row becomes its key file, or that of every selected row when the row is part of the selection. .xmlfiles on the Rules or Maps tab are added as rules or map files, and.dllfiles on the Plugins tab as plugins.- A
.babelfile opens that project.
Other files are refused with These files cannot be dropped here.
The Row Menu
Right-click a row, or press the menu key or Shift+F10, to open its menu. For one row it starts with the commands of the node menu; for several selected rows it starts with Remove targets, which asks for confirmation.
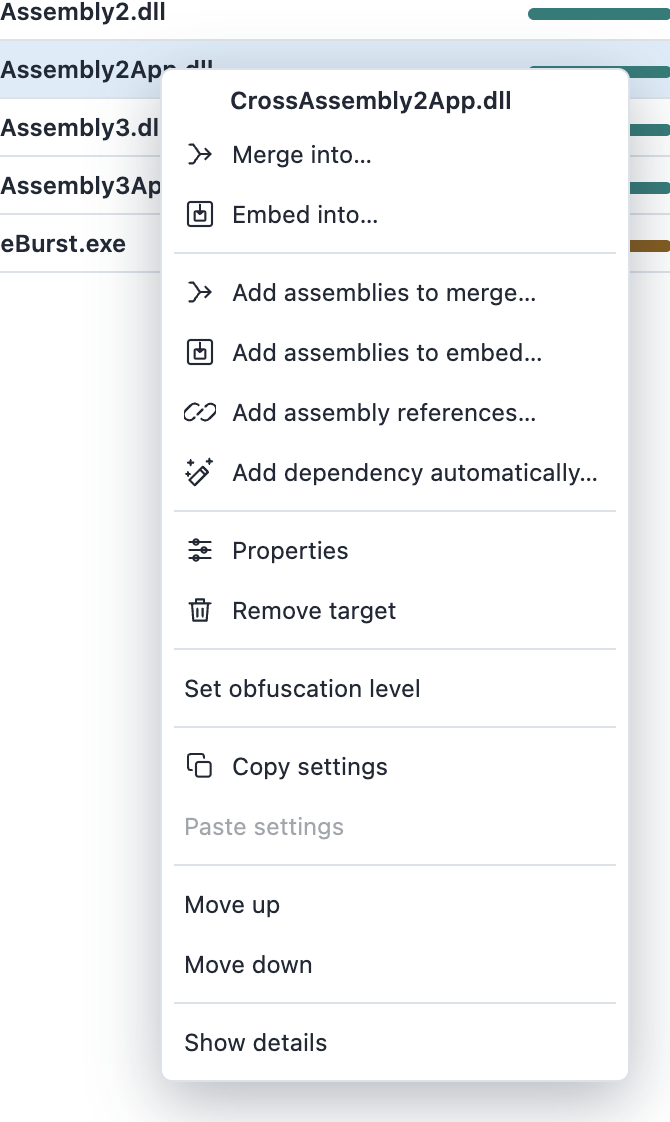
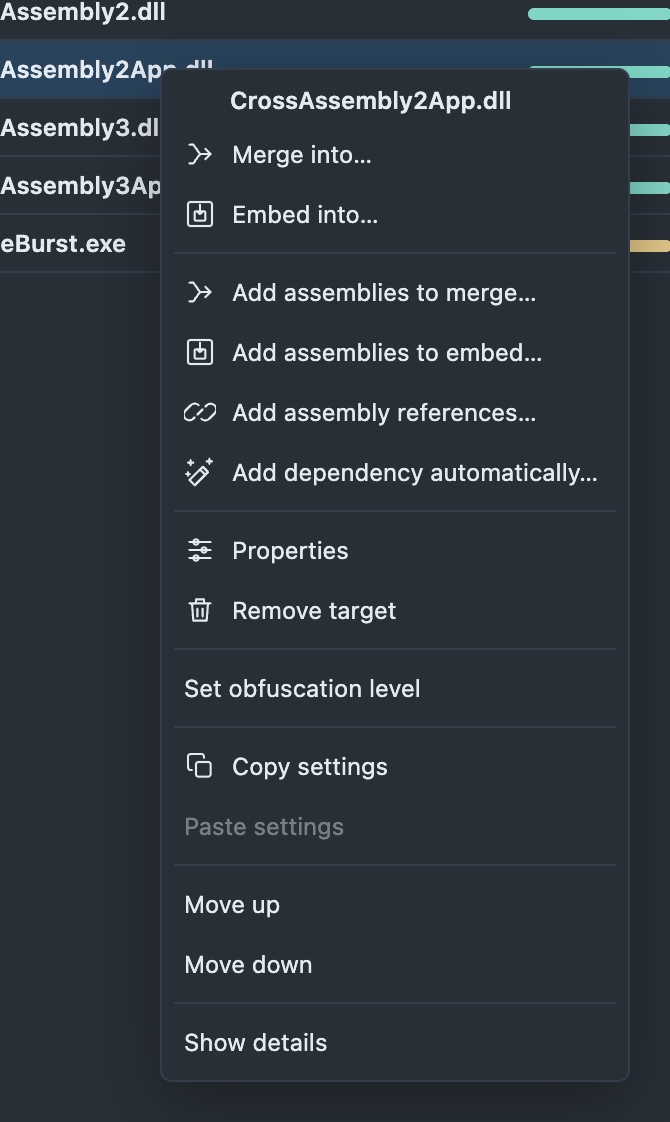
The menu of a row
| Command | Effect |
|---|---|
| Set obfuscation level | Level: Light, Level: Balanced or Level: Maximum on the selected rows. See Protection Levels. |
| Copy settings | Remembers the protection settings of this row |
| Paste settings | Replaces the protection settings of the selected rows with the copied ones |
| Move up, Move down | Moves the selected rows in project order |
| Show details, Hide details | Opens or closes the tabs under the selected rows |
Paste settings also clears protections that are not set on the source row, so the targets end up with the same protection. Paths, dependencies, passwords, map and log settings, plugin arguments and inline XML rules are never copied.
Working with Many Targets
A few ways to configure a large project quickly:
- Configure one target, then Copy settings on its row, select the other rows and choose Paste settings.
- Type part of a name in Filter targets, press
Ctrl+A(Cmd+Aon macOS) to select the matching rows, and edit a setting column once for all of them. - Select rows and use Set obfuscation level to give them a starting point, then adjust single settings in their columns.
- Add a rules file or a map file to one target and use Apply to all targets on its entry.
- Add the Flow · Step and Run after columns and turn on Group by flow before a run to check the order.