The Project Canvas
The canvas draws the project as a graph: one node for each target and each dependency, and a line for each connection between them.
The canvas is the default view of a project. Switch to it with Canvas at the top right of the toolbar, View > Canvas or Ctrl+Shift+C (Cmd+Shift+C on macOS). The grid shows the same project as a table.
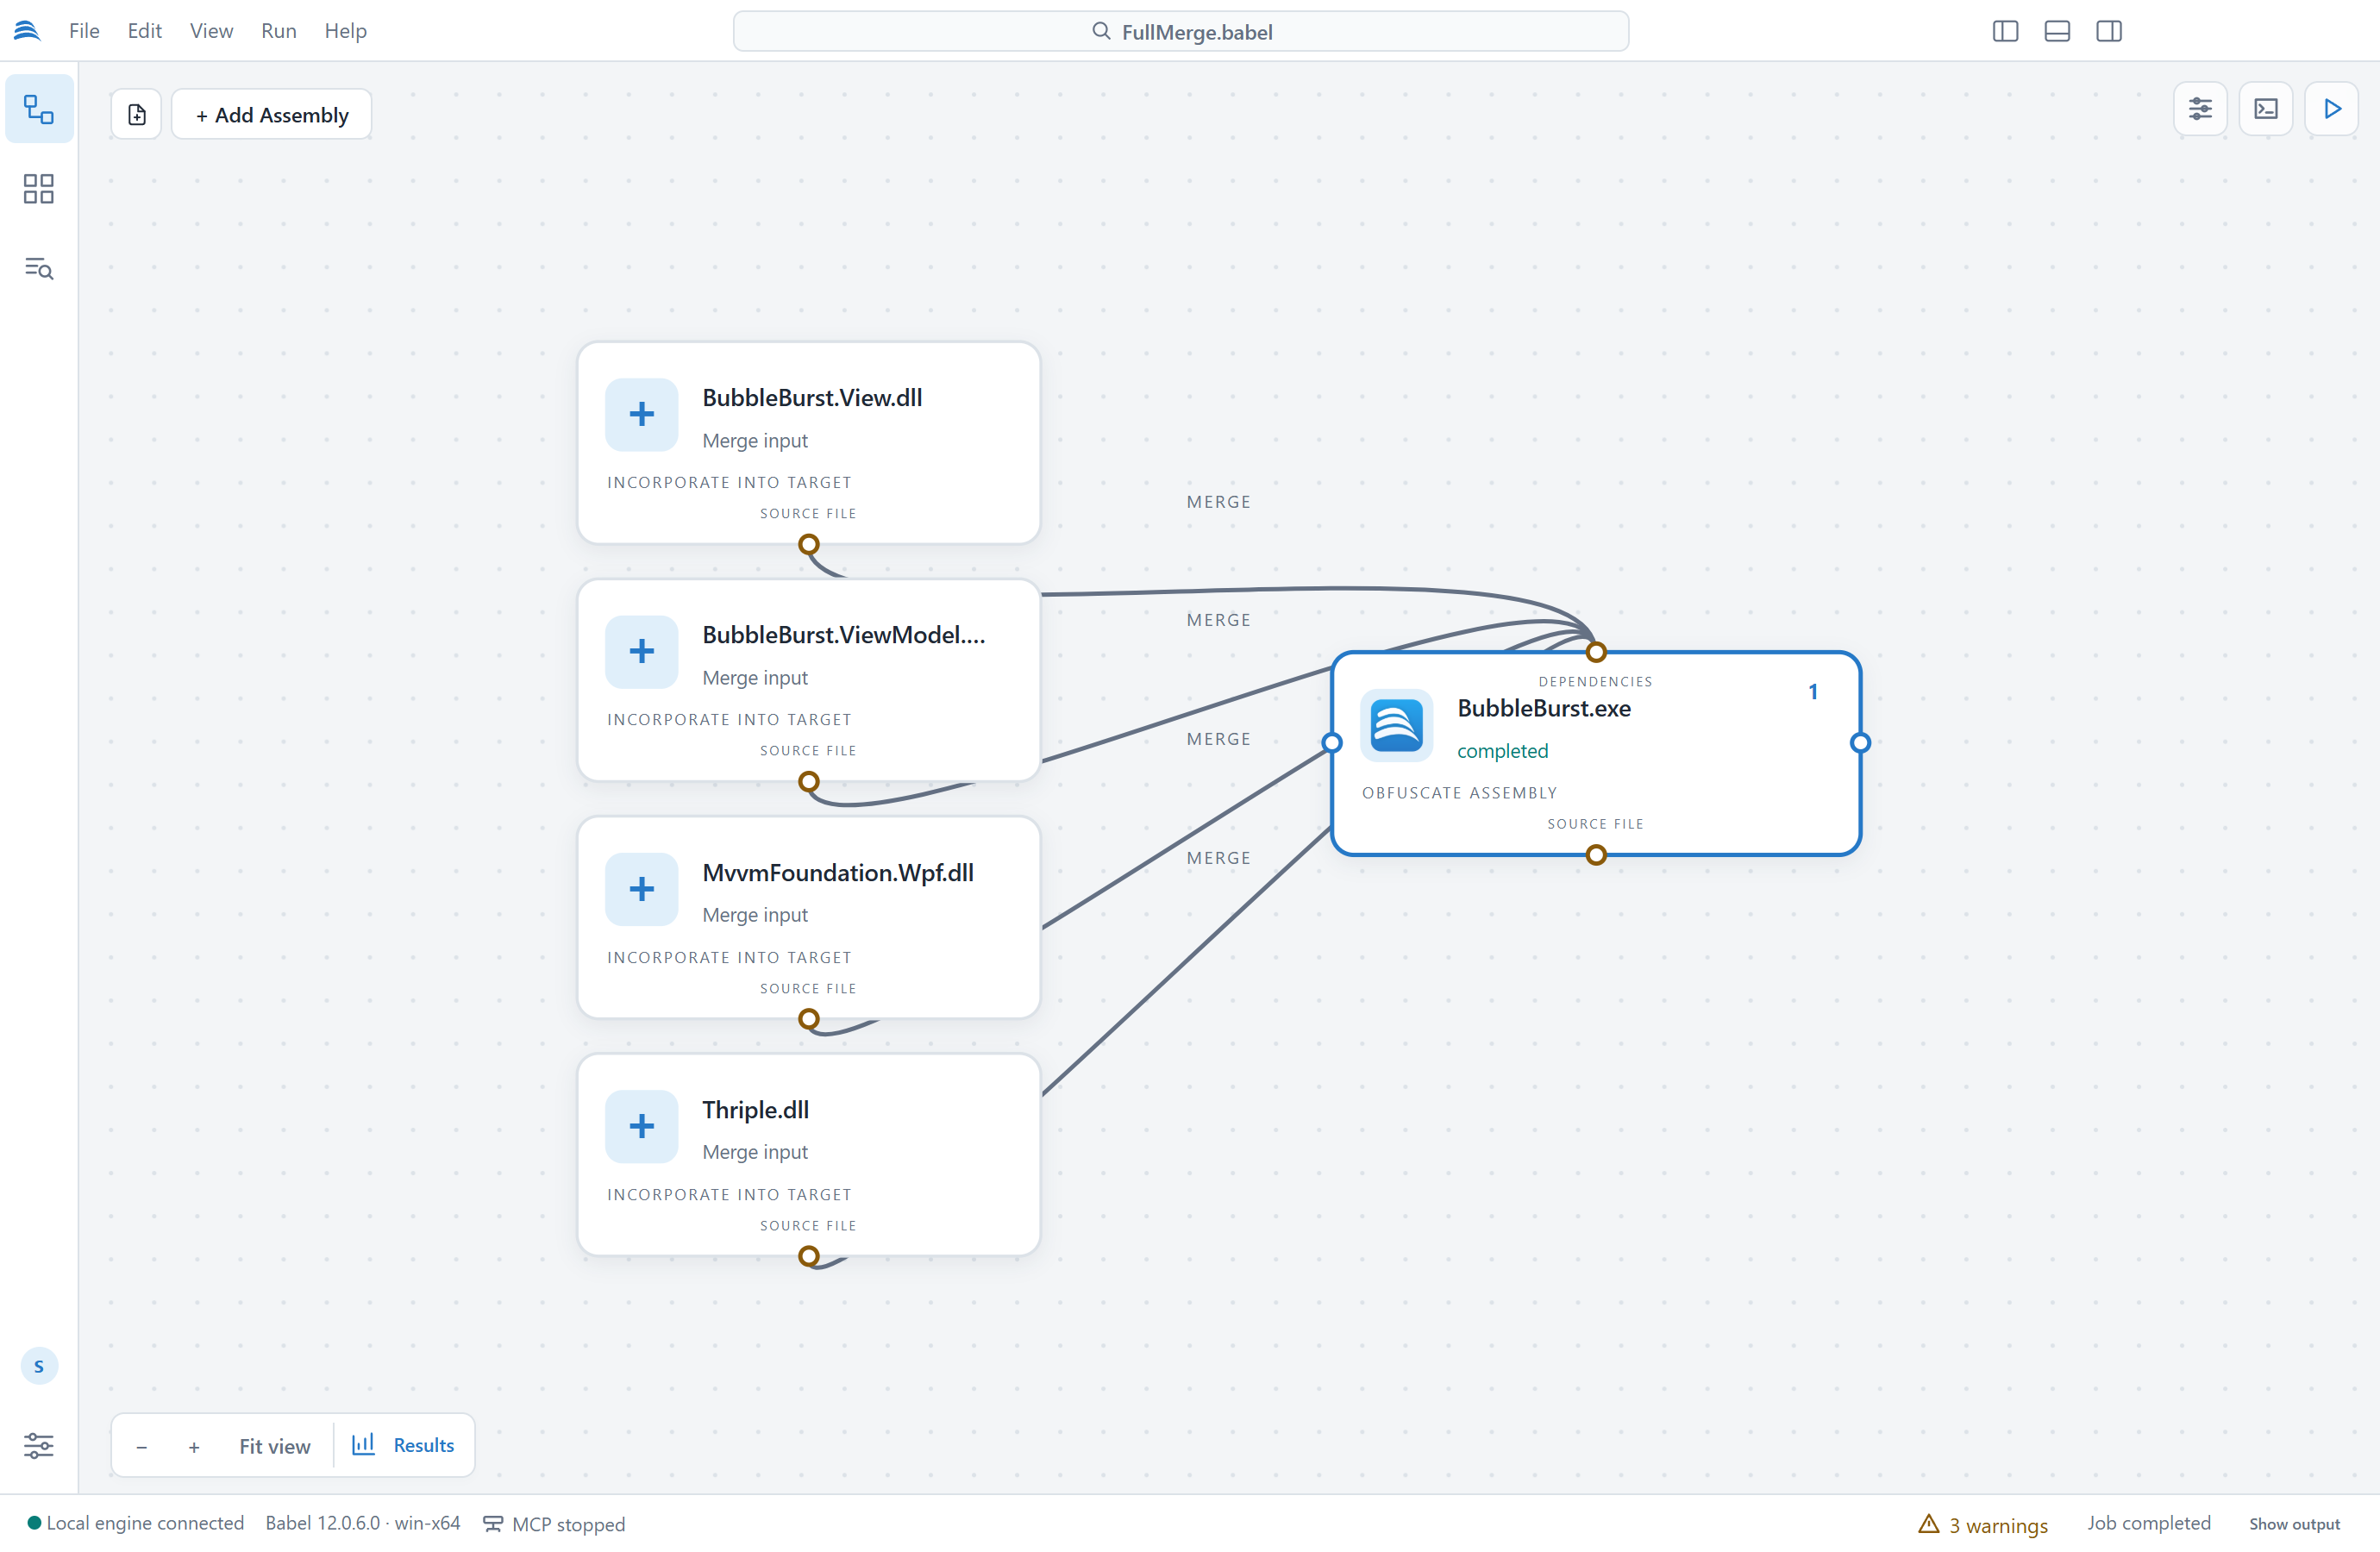
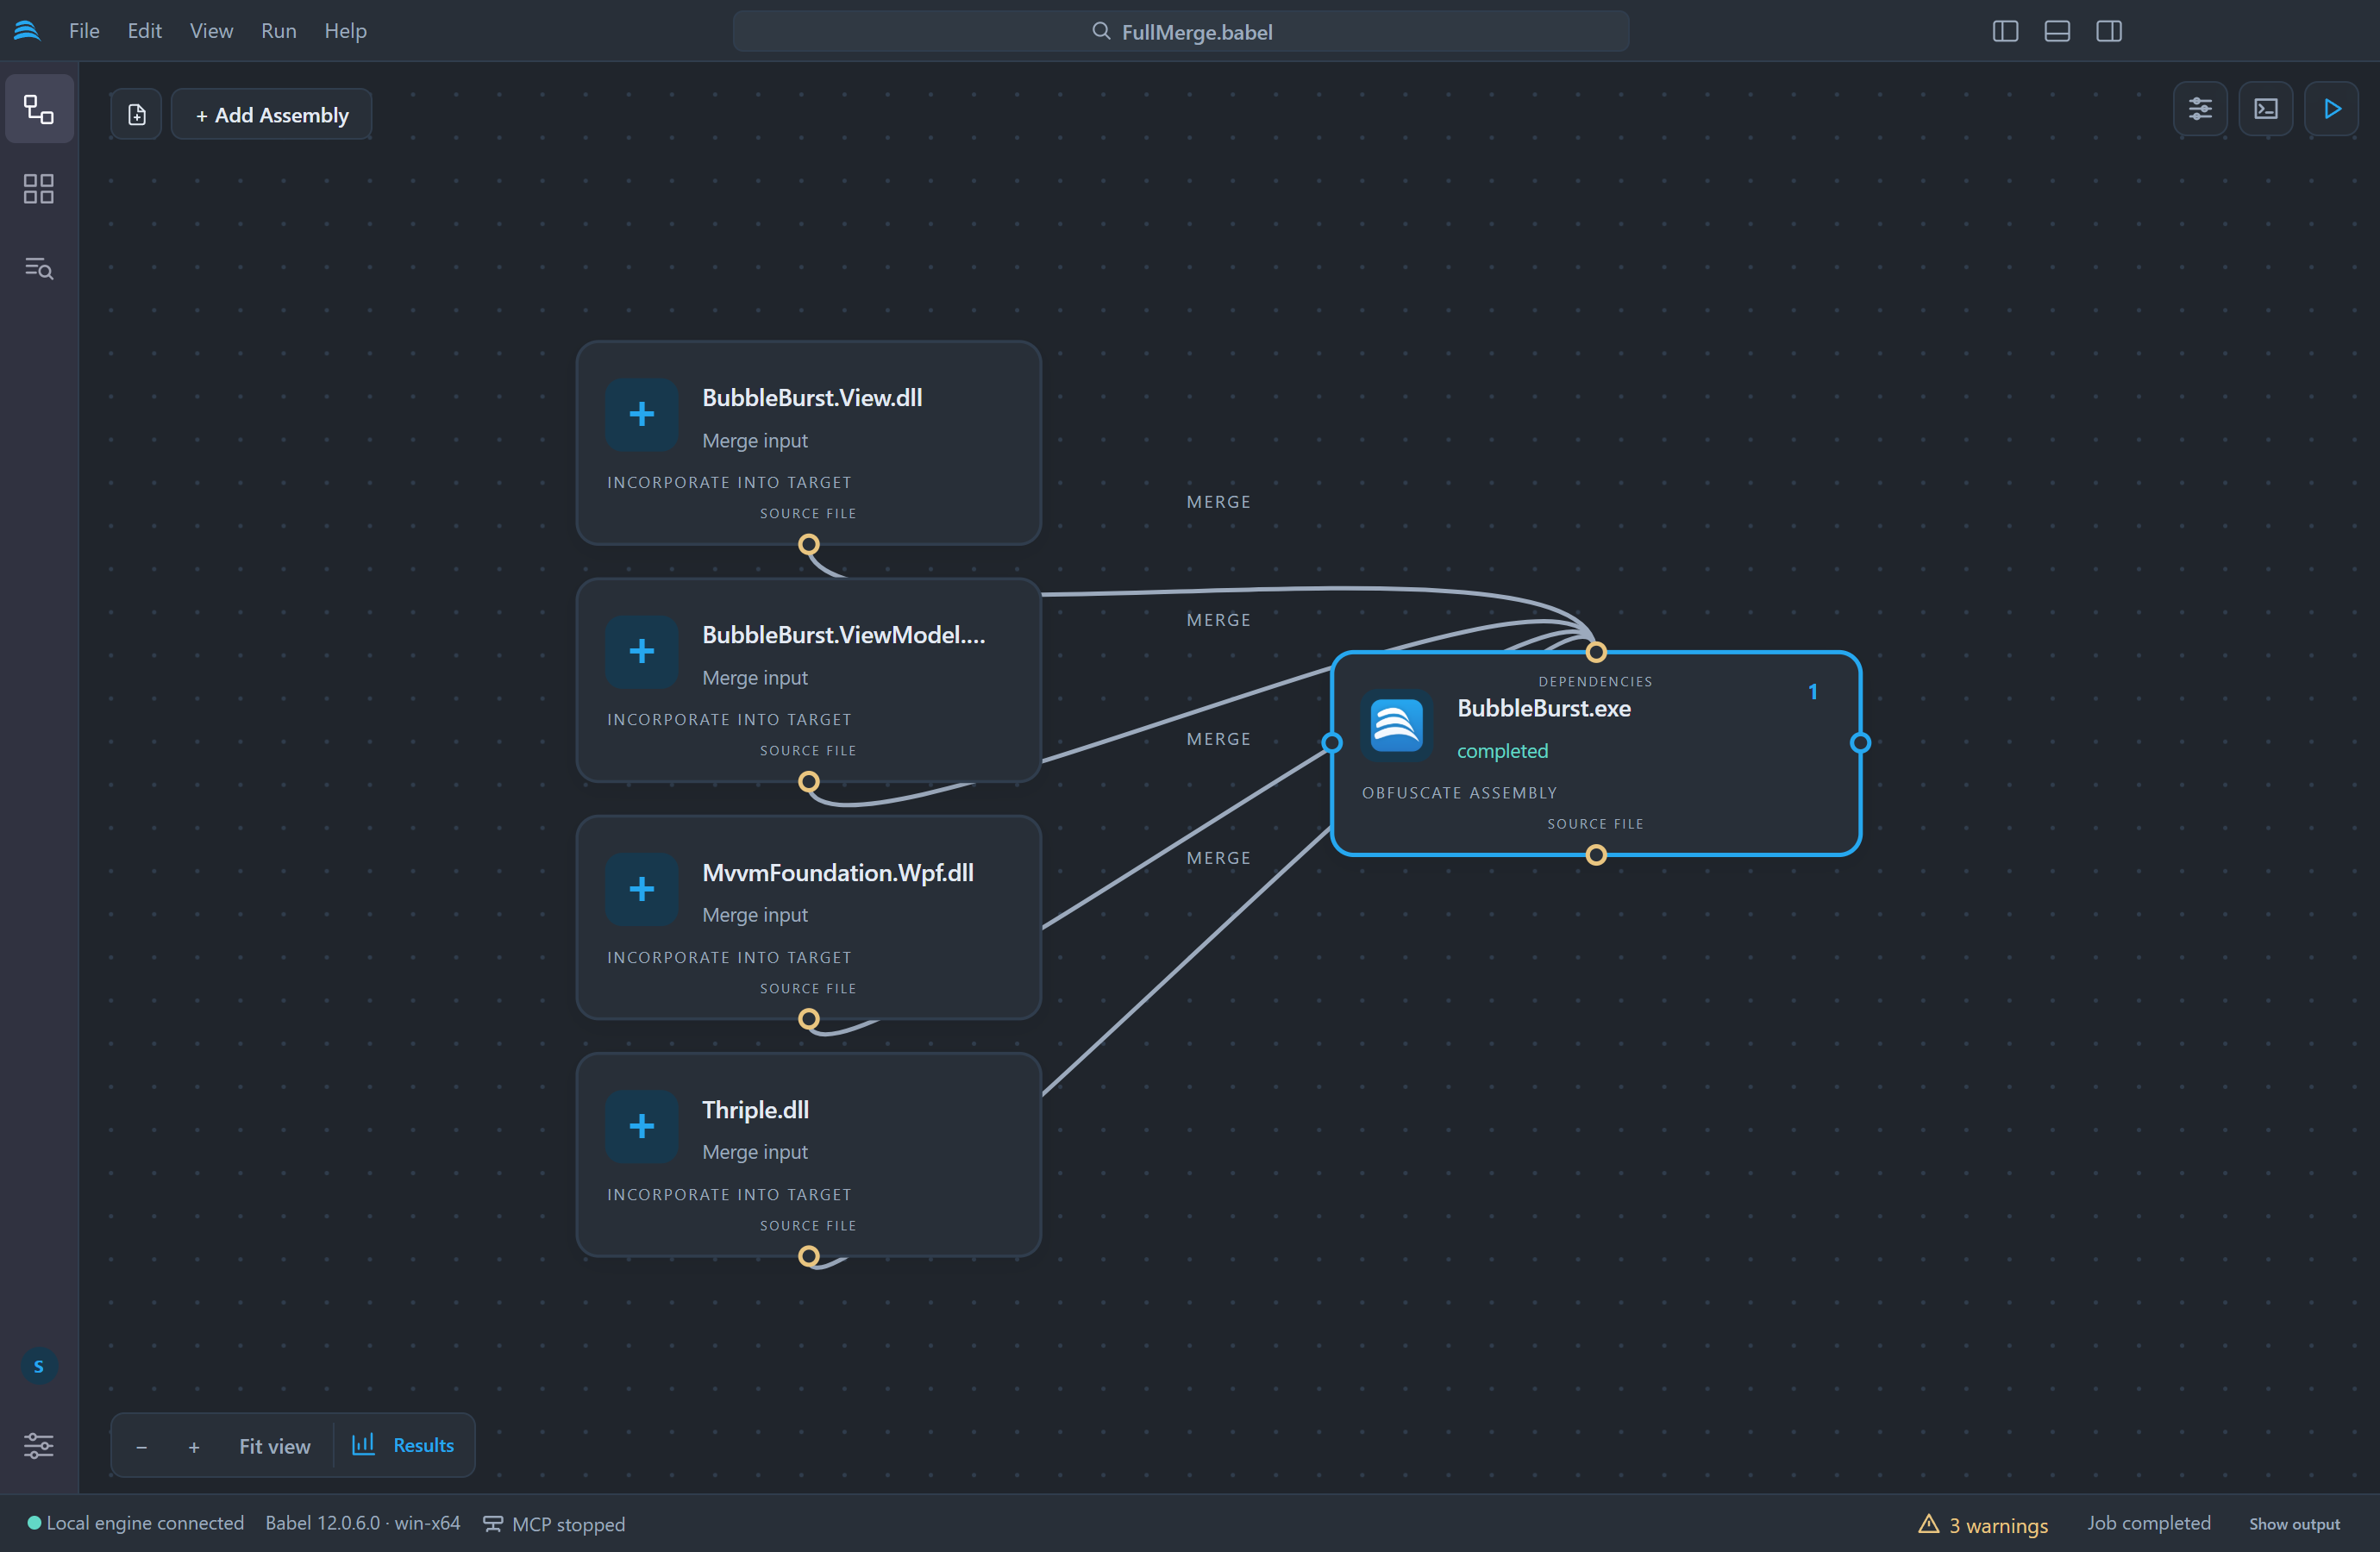
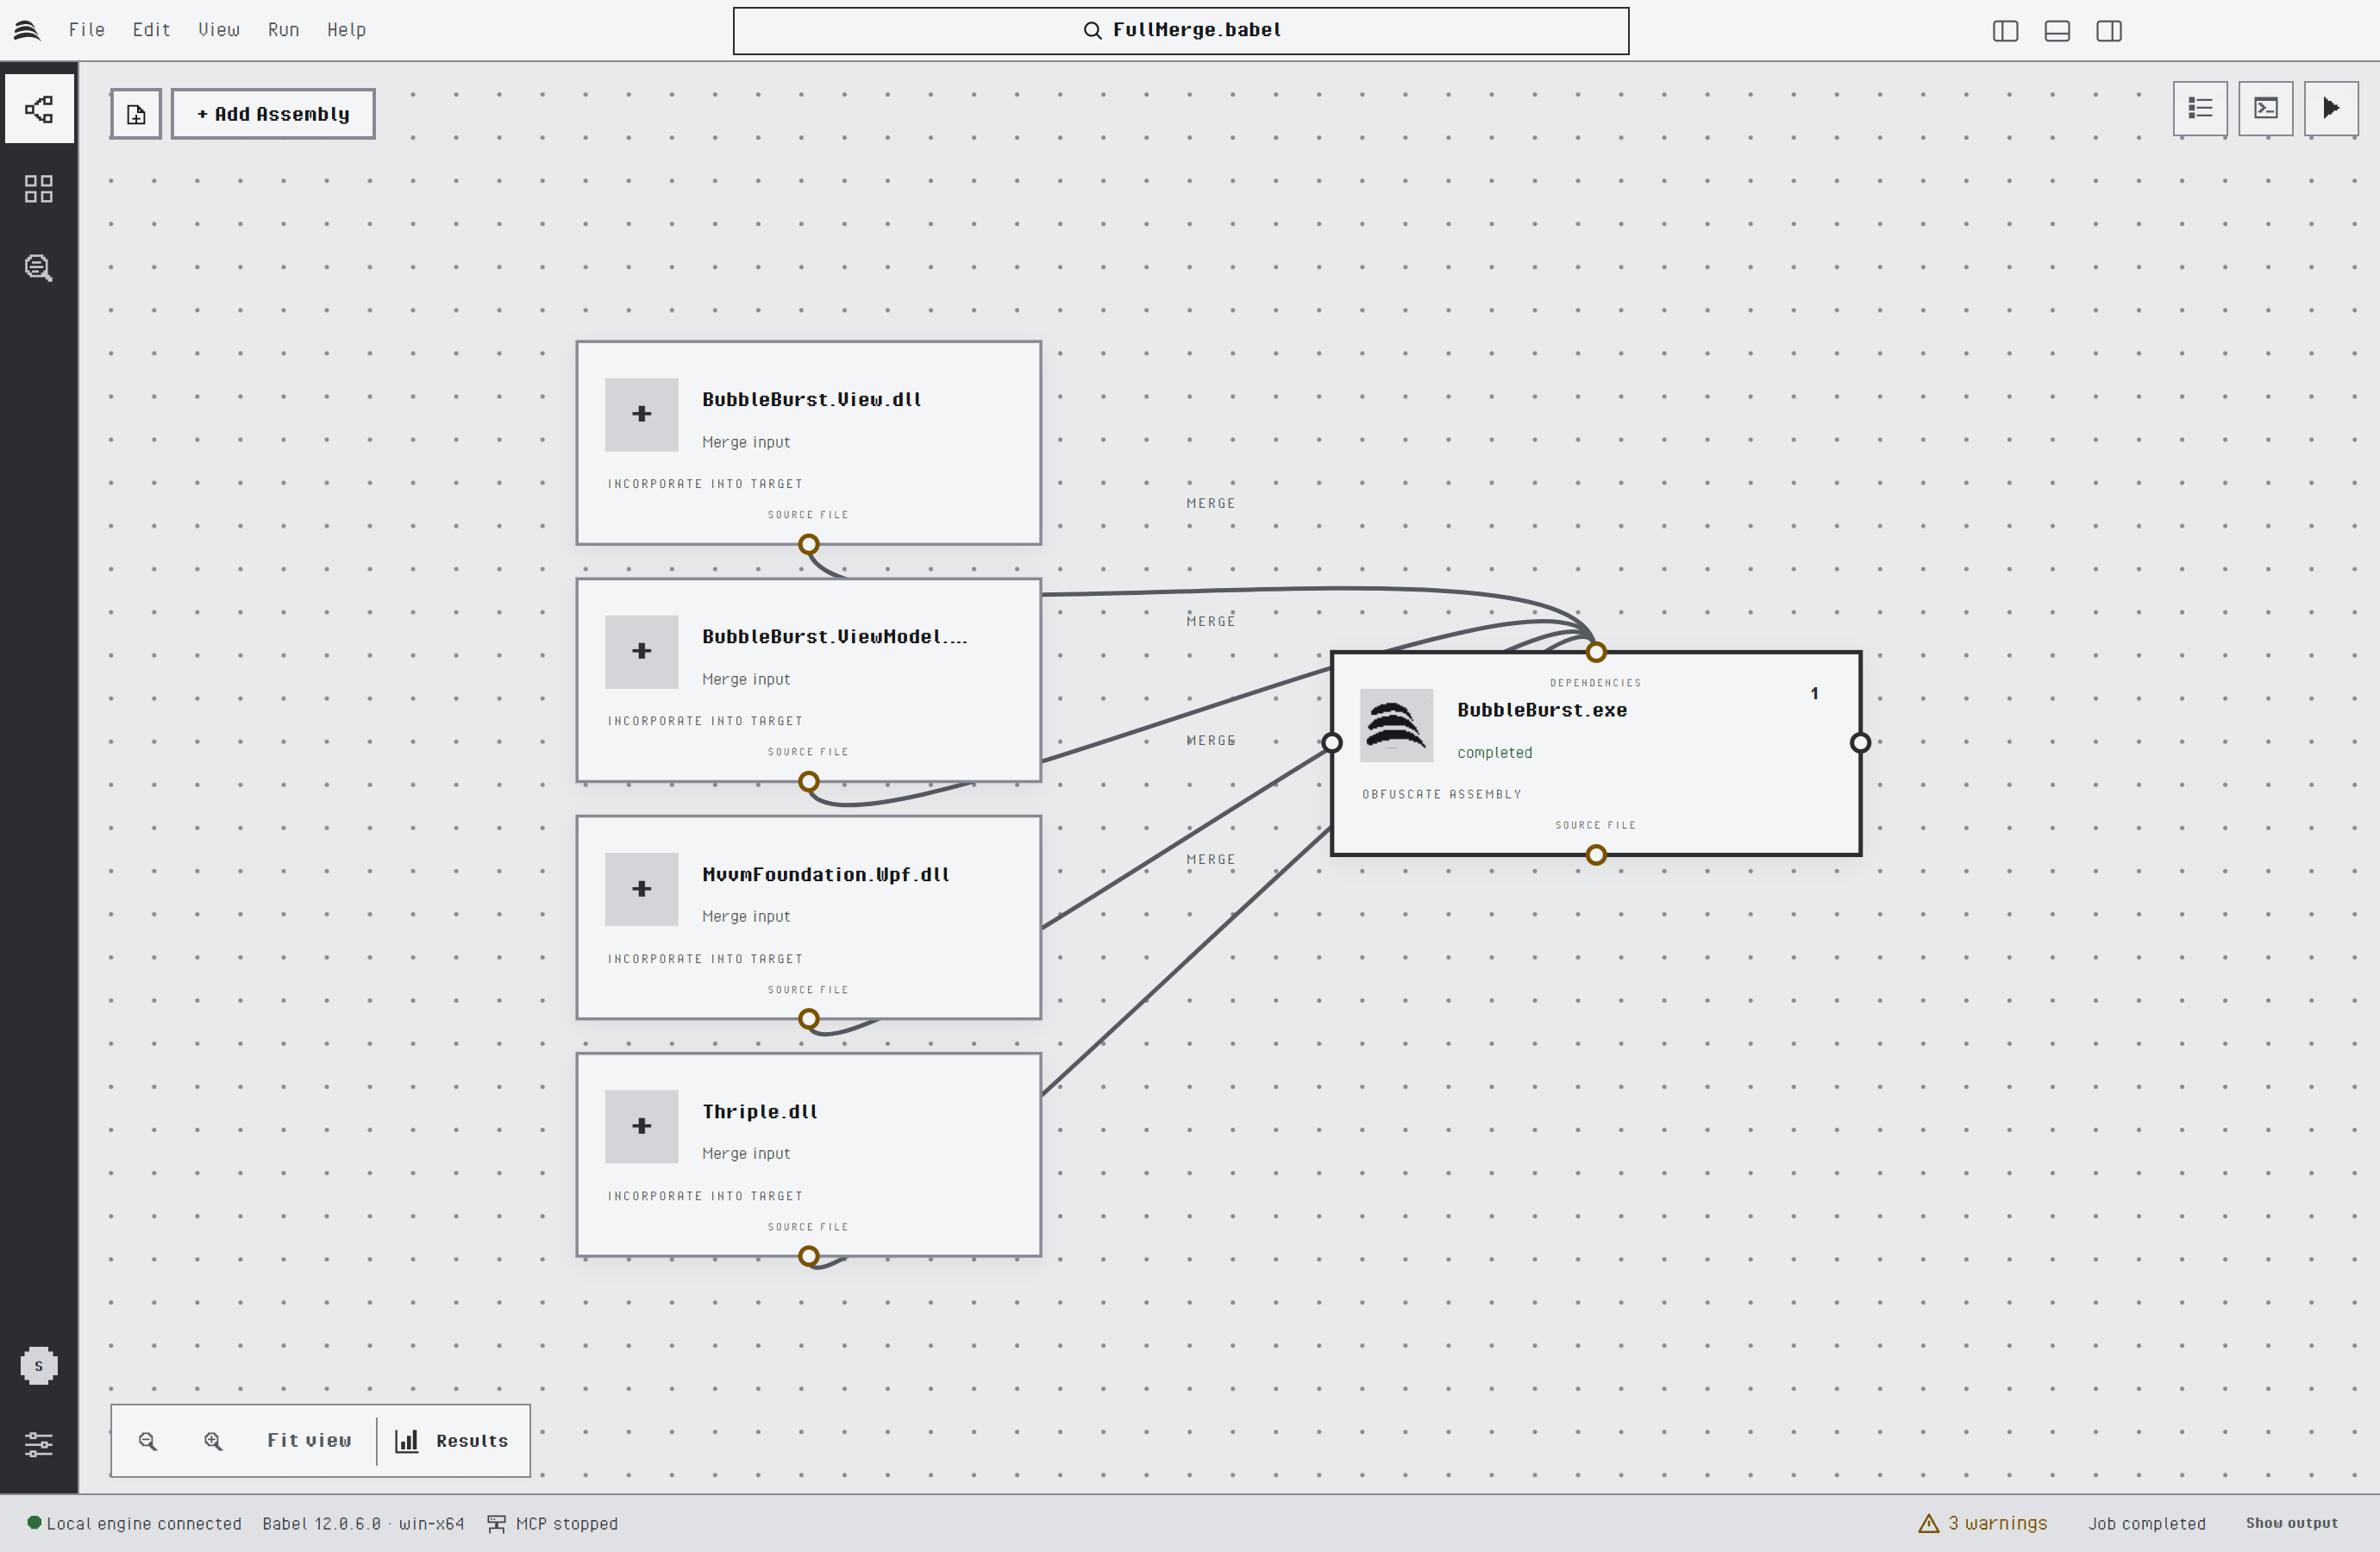
A project with one application and three library flows
Nodes
A target node has the Babel icon, the file name, its state and, at the top right, its step: the position at which it runs in its flow. The state reads Ready before a run, queued and running while the project runs, and completed, failed, cancelled or not run afterwards.
A dependency node has a plus icon and says what the assembly is for: Merge input, Embedded assembly or Reference lookup. Its caption repeats it: INCORPORATE INTO TARGET, RESOURCE + RESOLVER or METADATA RESOLUTION.
Each node has small round anchors on its edges. The caption under the bottom anchor, SOURCE FILE, and the one over the top anchor of a target, DEPENDENCIES, tell you which way a dependency goes: from the bottom of the assembly that is used to the top of the target that uses it. The left and right anchors of a target connect it to other targets. The line at the bottom right of the canvas sums this up: Flow: left → right · Dependencies: bottom → top · Connections use source files.
| Line | Meaning |
|---|---|
| Solid, labelled MERGE | A merge dependency |
| Dashed, labelled EMBED | An embedded assembly |
| Dotted, labelled RESOLVE | A reference, used only to resolve the target’s references |
| Dashed, labelled MAP | A map link between two targets |
| Labelled FLOW → | A flow edge: the first target runs before the second |
Moving Around
Drag the background, scroll the wheel or swipe with two fingers to pan. Pinch, or hold Ctrl (Cmd on macOS) while you scroll, to zoom around the pointer. The zoom buttons and Fit view at the bottom left frame the graph.
Drag a node to move it. View > Auto Layout Graph (Ctrl+Shift+L, Cmd+Shift+L on macOS) places the targets from left to right in run order, with the dependencies of each target stacked on its left. Node positions are saved in the project file, so the graph looks the same the next time you open it.
Selecting a Target
Click a target to select it. The selected target has a blue border, and the properties panel, the toolbar commands and the commands of the command palette act on it. To open its settings, click Properties at the top right, or move to the node with the keyboard and press Enter: the panel opens with the cursor in Find a setting.
Rest the pointer on a node for half a second, or move to it with the keyboard, to open its card. The card of a target shows its state, its run order, how many assemblies it merges, embeds and references, the maps it reads and the path of the input file. After a run it also shows the obfuscation score. The card of a dependency shows its type and its file.
The Node Menu
Right-click a node, or press the menu key or Shift+F10 on a node, to open its menu. The + Add dependency button of the toolbar opens the same menu for the selected target.
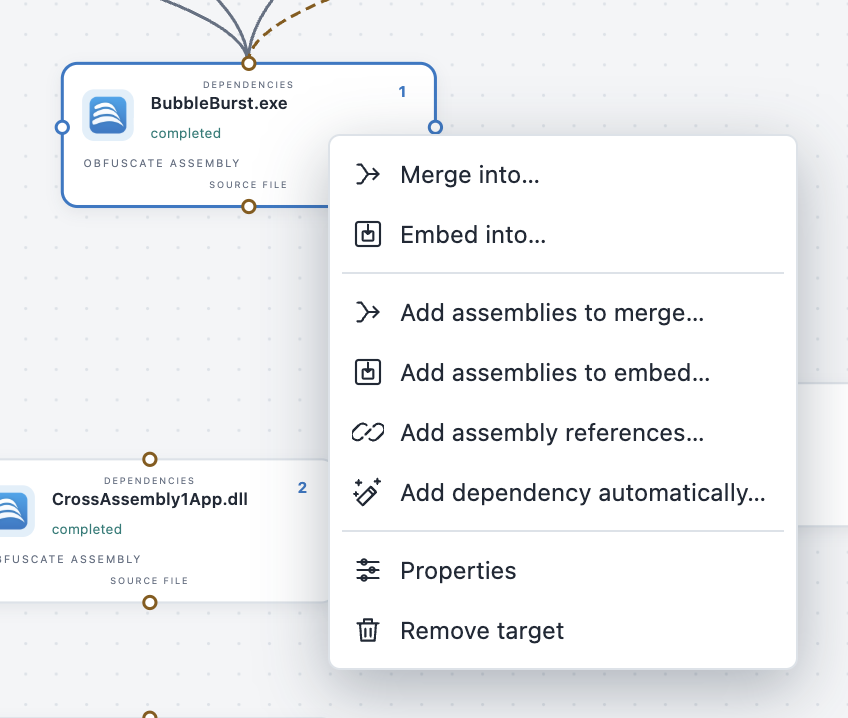
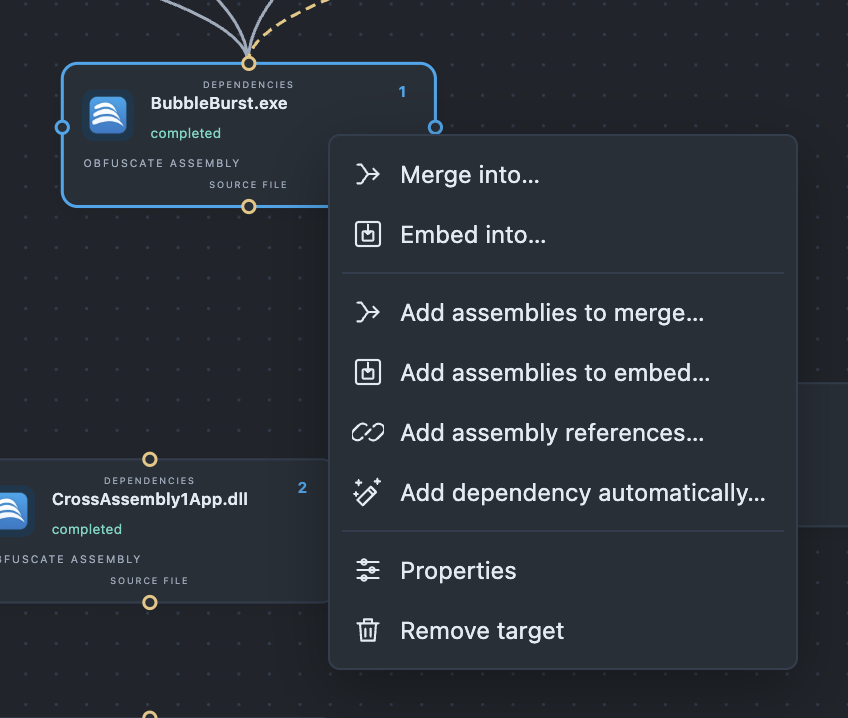
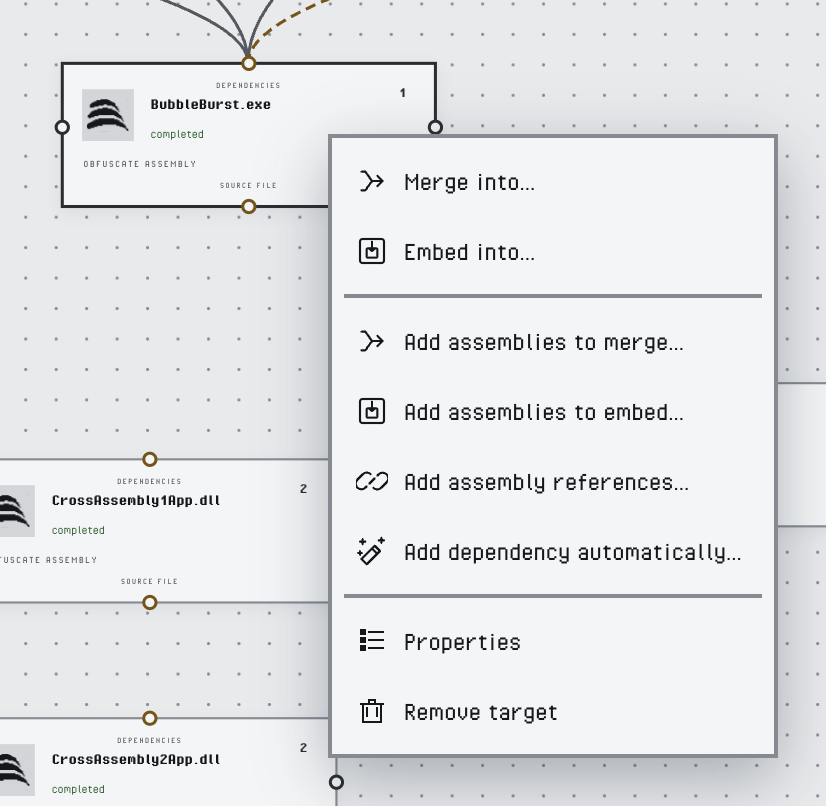
The menu of a target
| Command | Effect |
|---|---|
| Merge into…, Embed into… | Lists the other targets of the project. The one you pick merges or embeds this target. See Merging a Target into Another. |
| Add assemblies to merge…, Add assemblies to embed…, Add assembly references… | Opens a file picker and adds the chosen files as dependencies of this target |
| Add dependency automatically… | Opens a file picker and gives each chosen file the type Babel Desktop picks for it |
| Properties | Selects the target and opens the properties panel |
| Remove target | Removes the target from the project |
The menu of a dependency node offers Merge, Embed and Reference to change its type, Remove dependency and Properties, which opens the settings of the target it belongs to.
Adding Assemblies
+ Add Assembly on the toolbar and Assembly: Add primary targets… in the command palette open a file picker and add each file as a new target. You can also drag .NET assemblies from the file manager onto the canvas. To add an assembly as a dependency instead, use the node menu or connect it as described in Dependencies.
The canvas cannot change while a run is in progress or while an edit is waiting to be applied. The node menu then shows its commands as unavailable.